Bartop Arcade Cabinet Build- Classic Vertical setup- 1 joystick 3 buttons- total cost around $300 plus PCB
The most basic version of a Bartop Arcade cabinet with JAMMA (Japanese Amusement Machine and Marketing Association) wiring. There are endless possibilities for customization but this is the most basic simple version that can be made quickly. I've set this up as a conventional vertical arcade machine with one joystick.
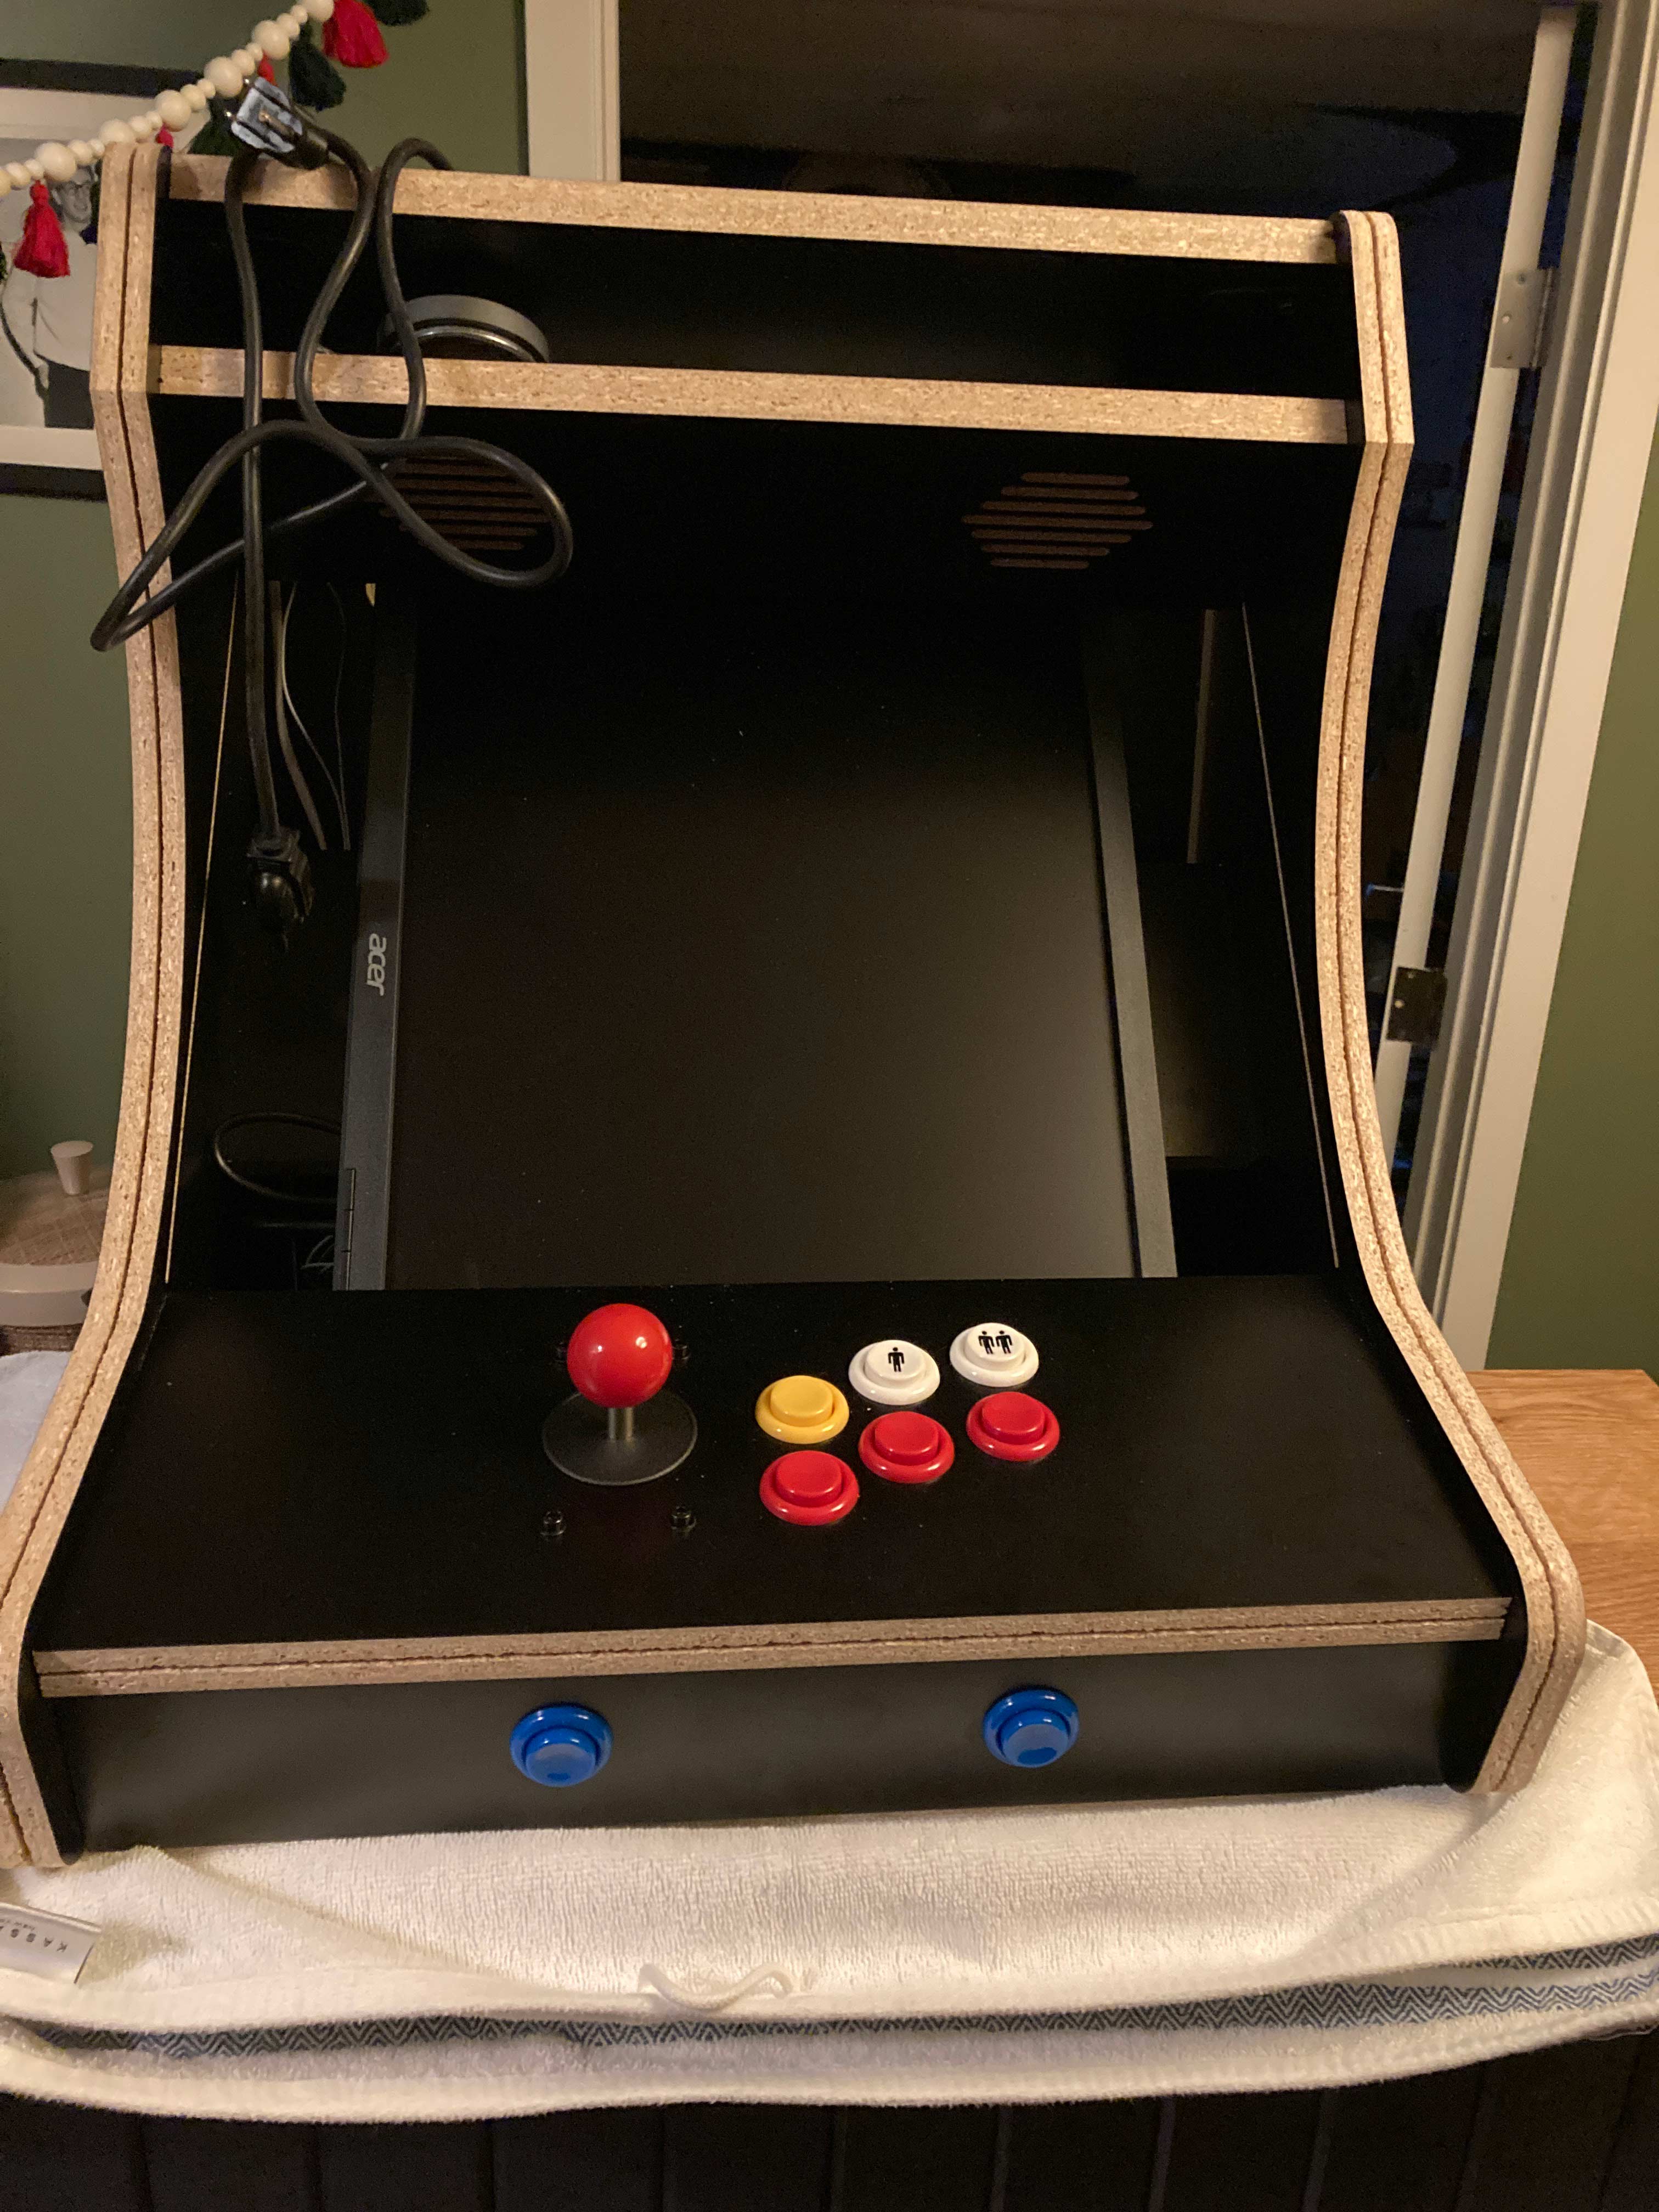
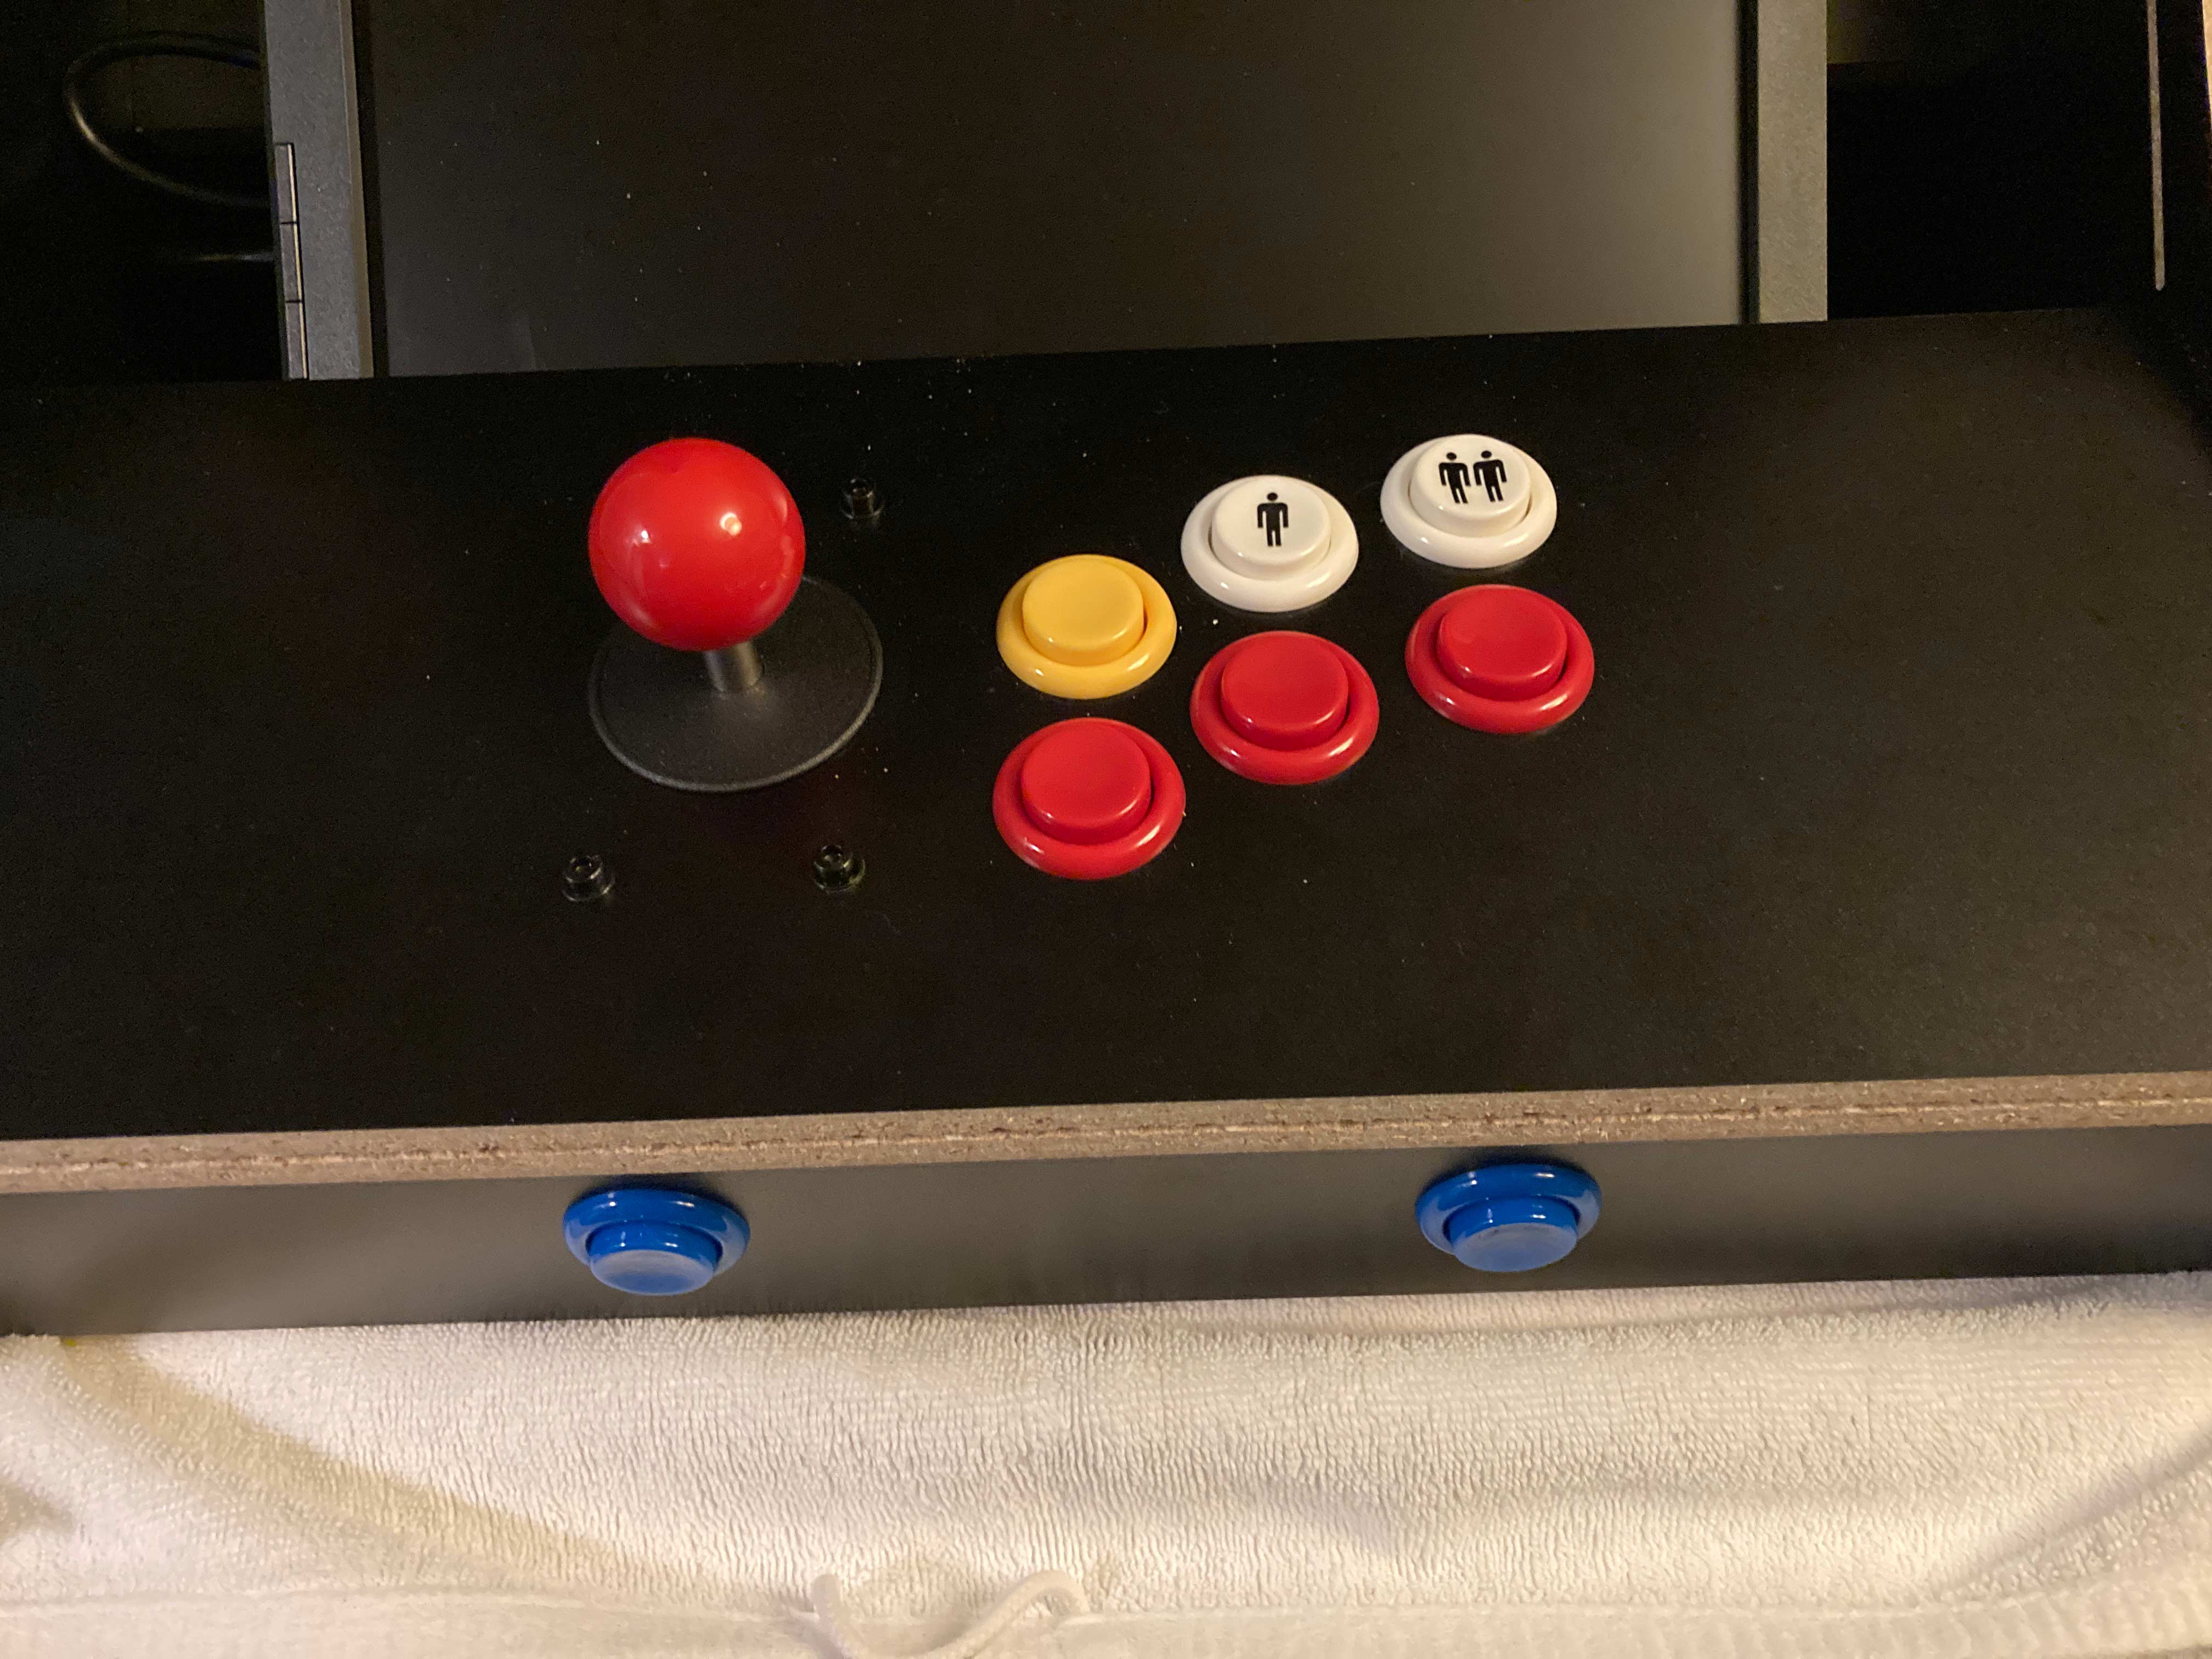
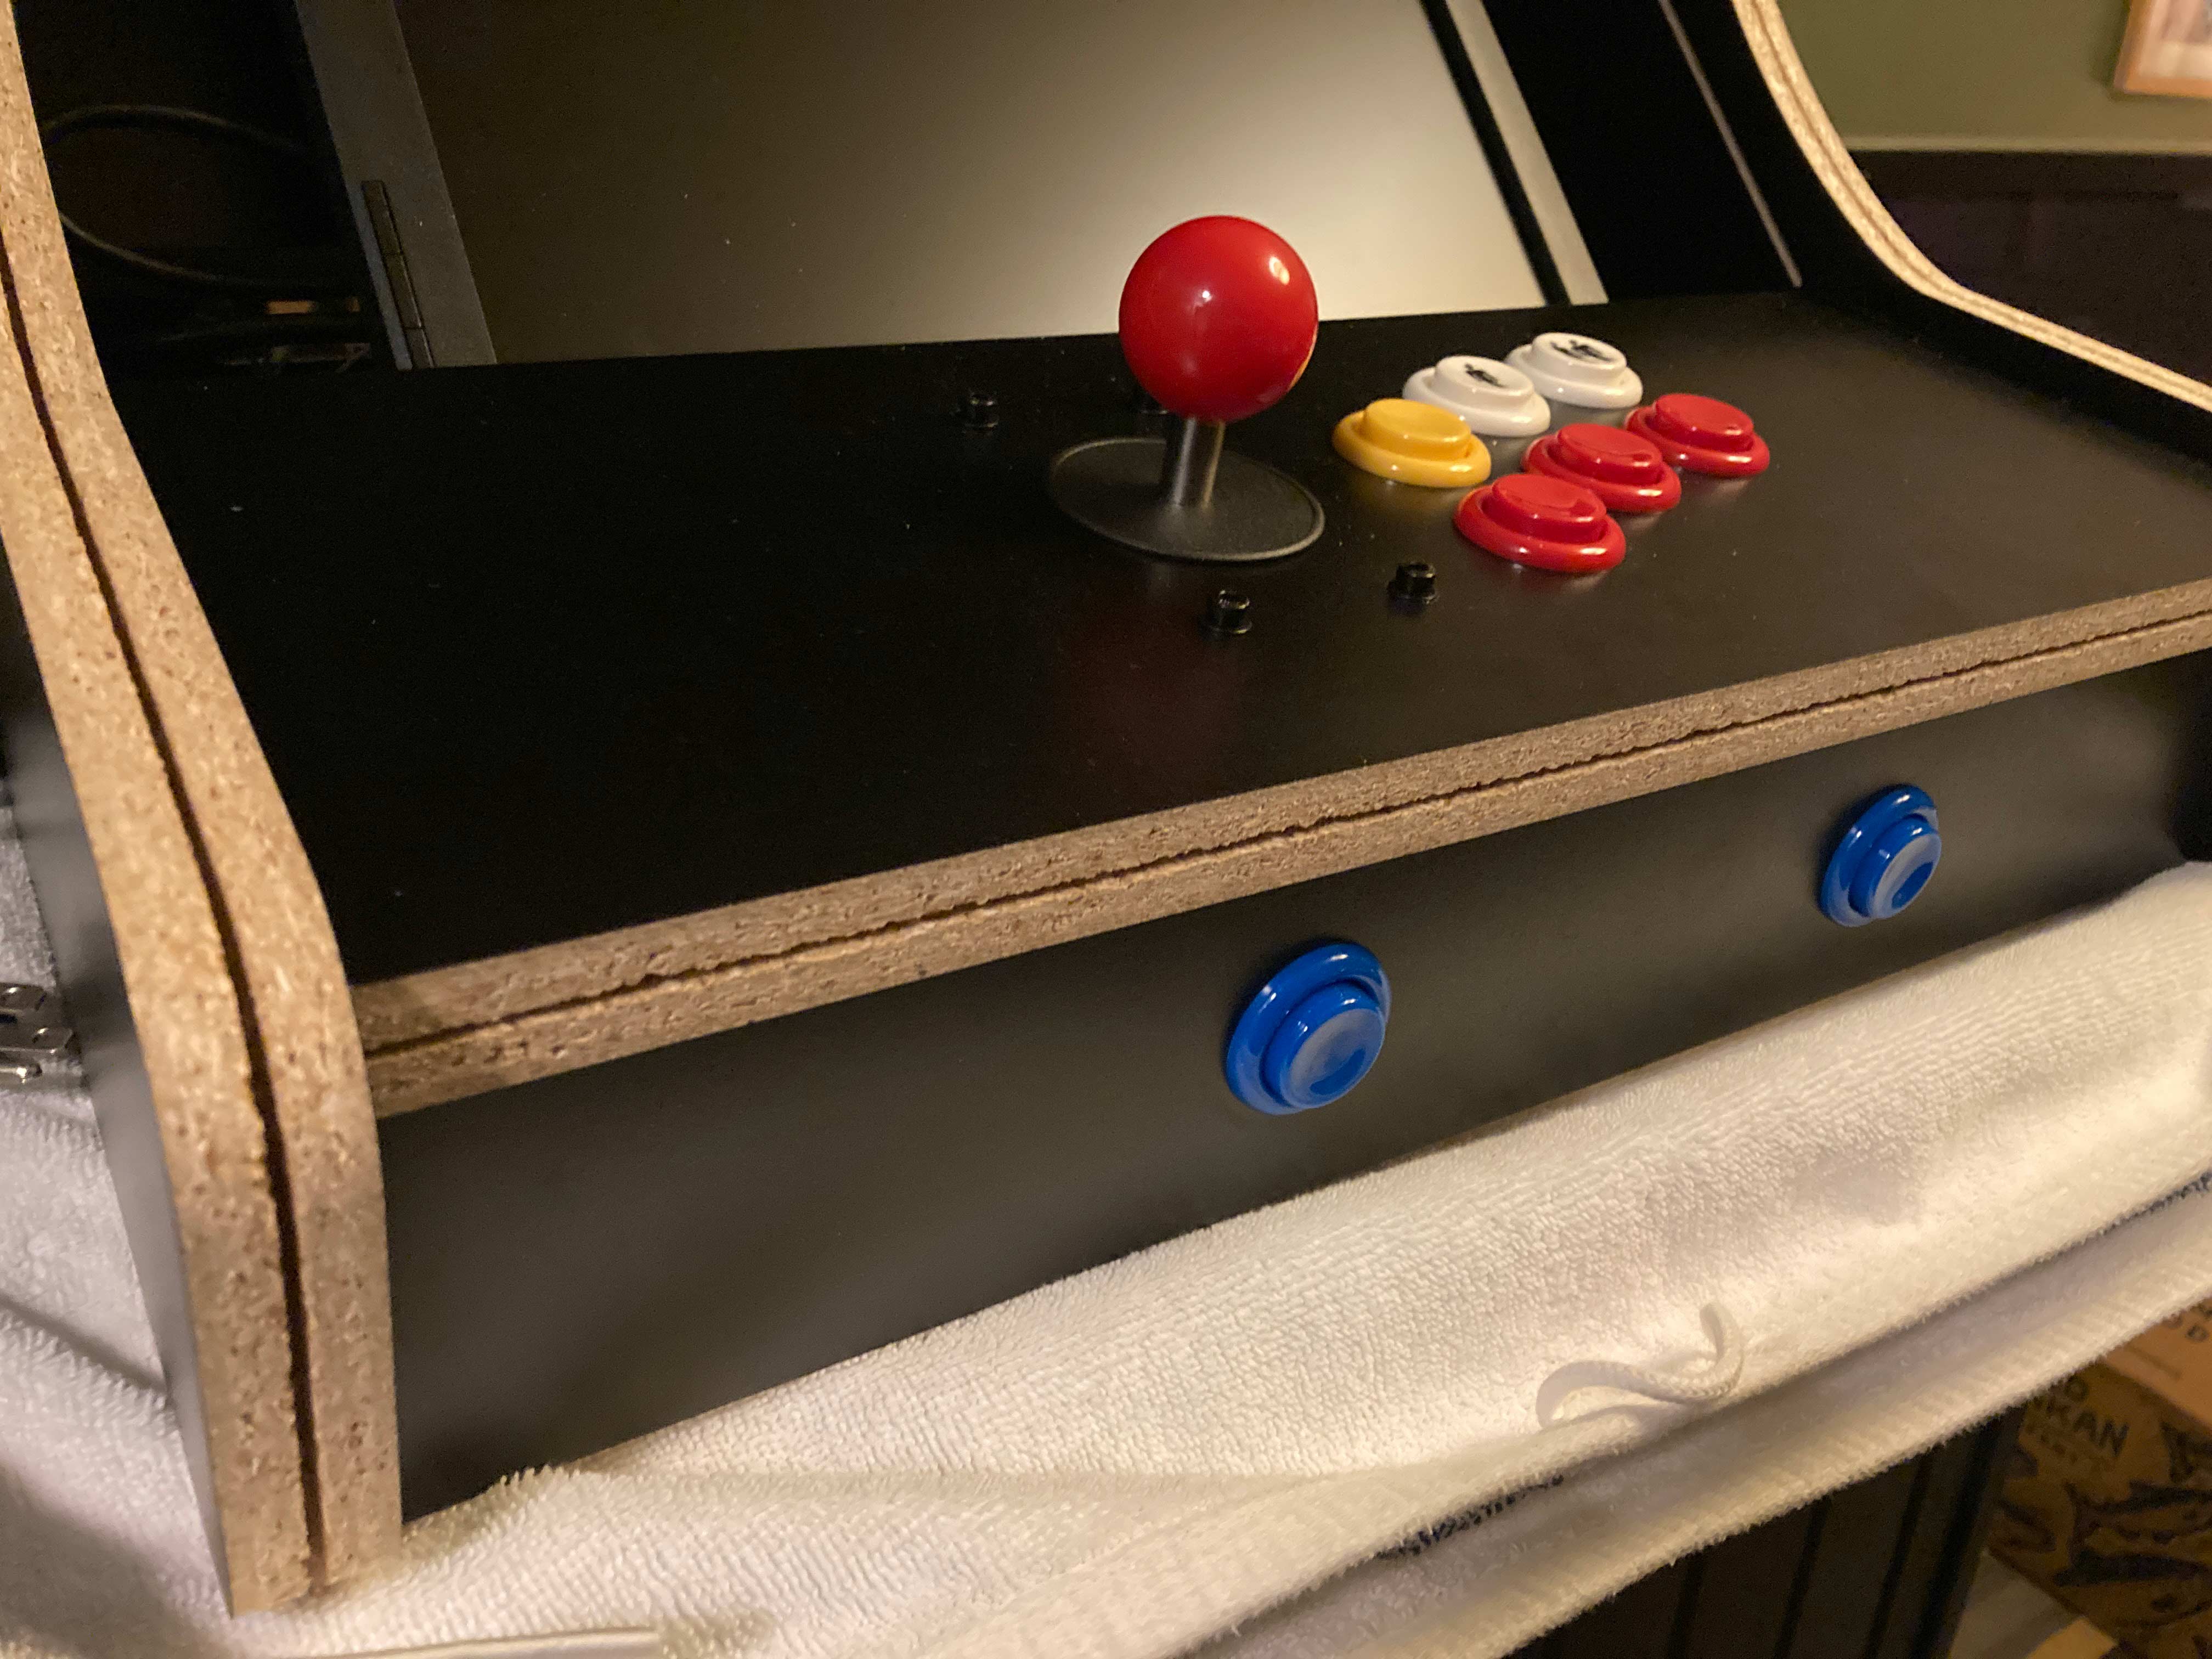
It is 2-player capable with players taking turns like any classic machine. 6 buttons on the control panel plus a joystick with a replacable red ball top. Shoot 1, 2, and 3 (all red), plus a coin button (yellow) and player 1 and 2 start buttons (white). The front button panel has a test button and a service button (blue). I may actually swap the player buttons with the test and service buttons.
1-Cabinet. This one ($135) from eBay. Shipped from just outside Milwaukee super fast. Be gentle with it the melamine can chip very easily. Don't force anything. It is CNC laser cut it all goes together perfectly and is very sturdy. It is held together with cam lock nuts and screws like Ikea furniture. Endless other options for cabinets of various sizes and orientations and screen size acommodations are available. The control panel is attached in only two spots so you can lift the front of it to access the wiring underneath.
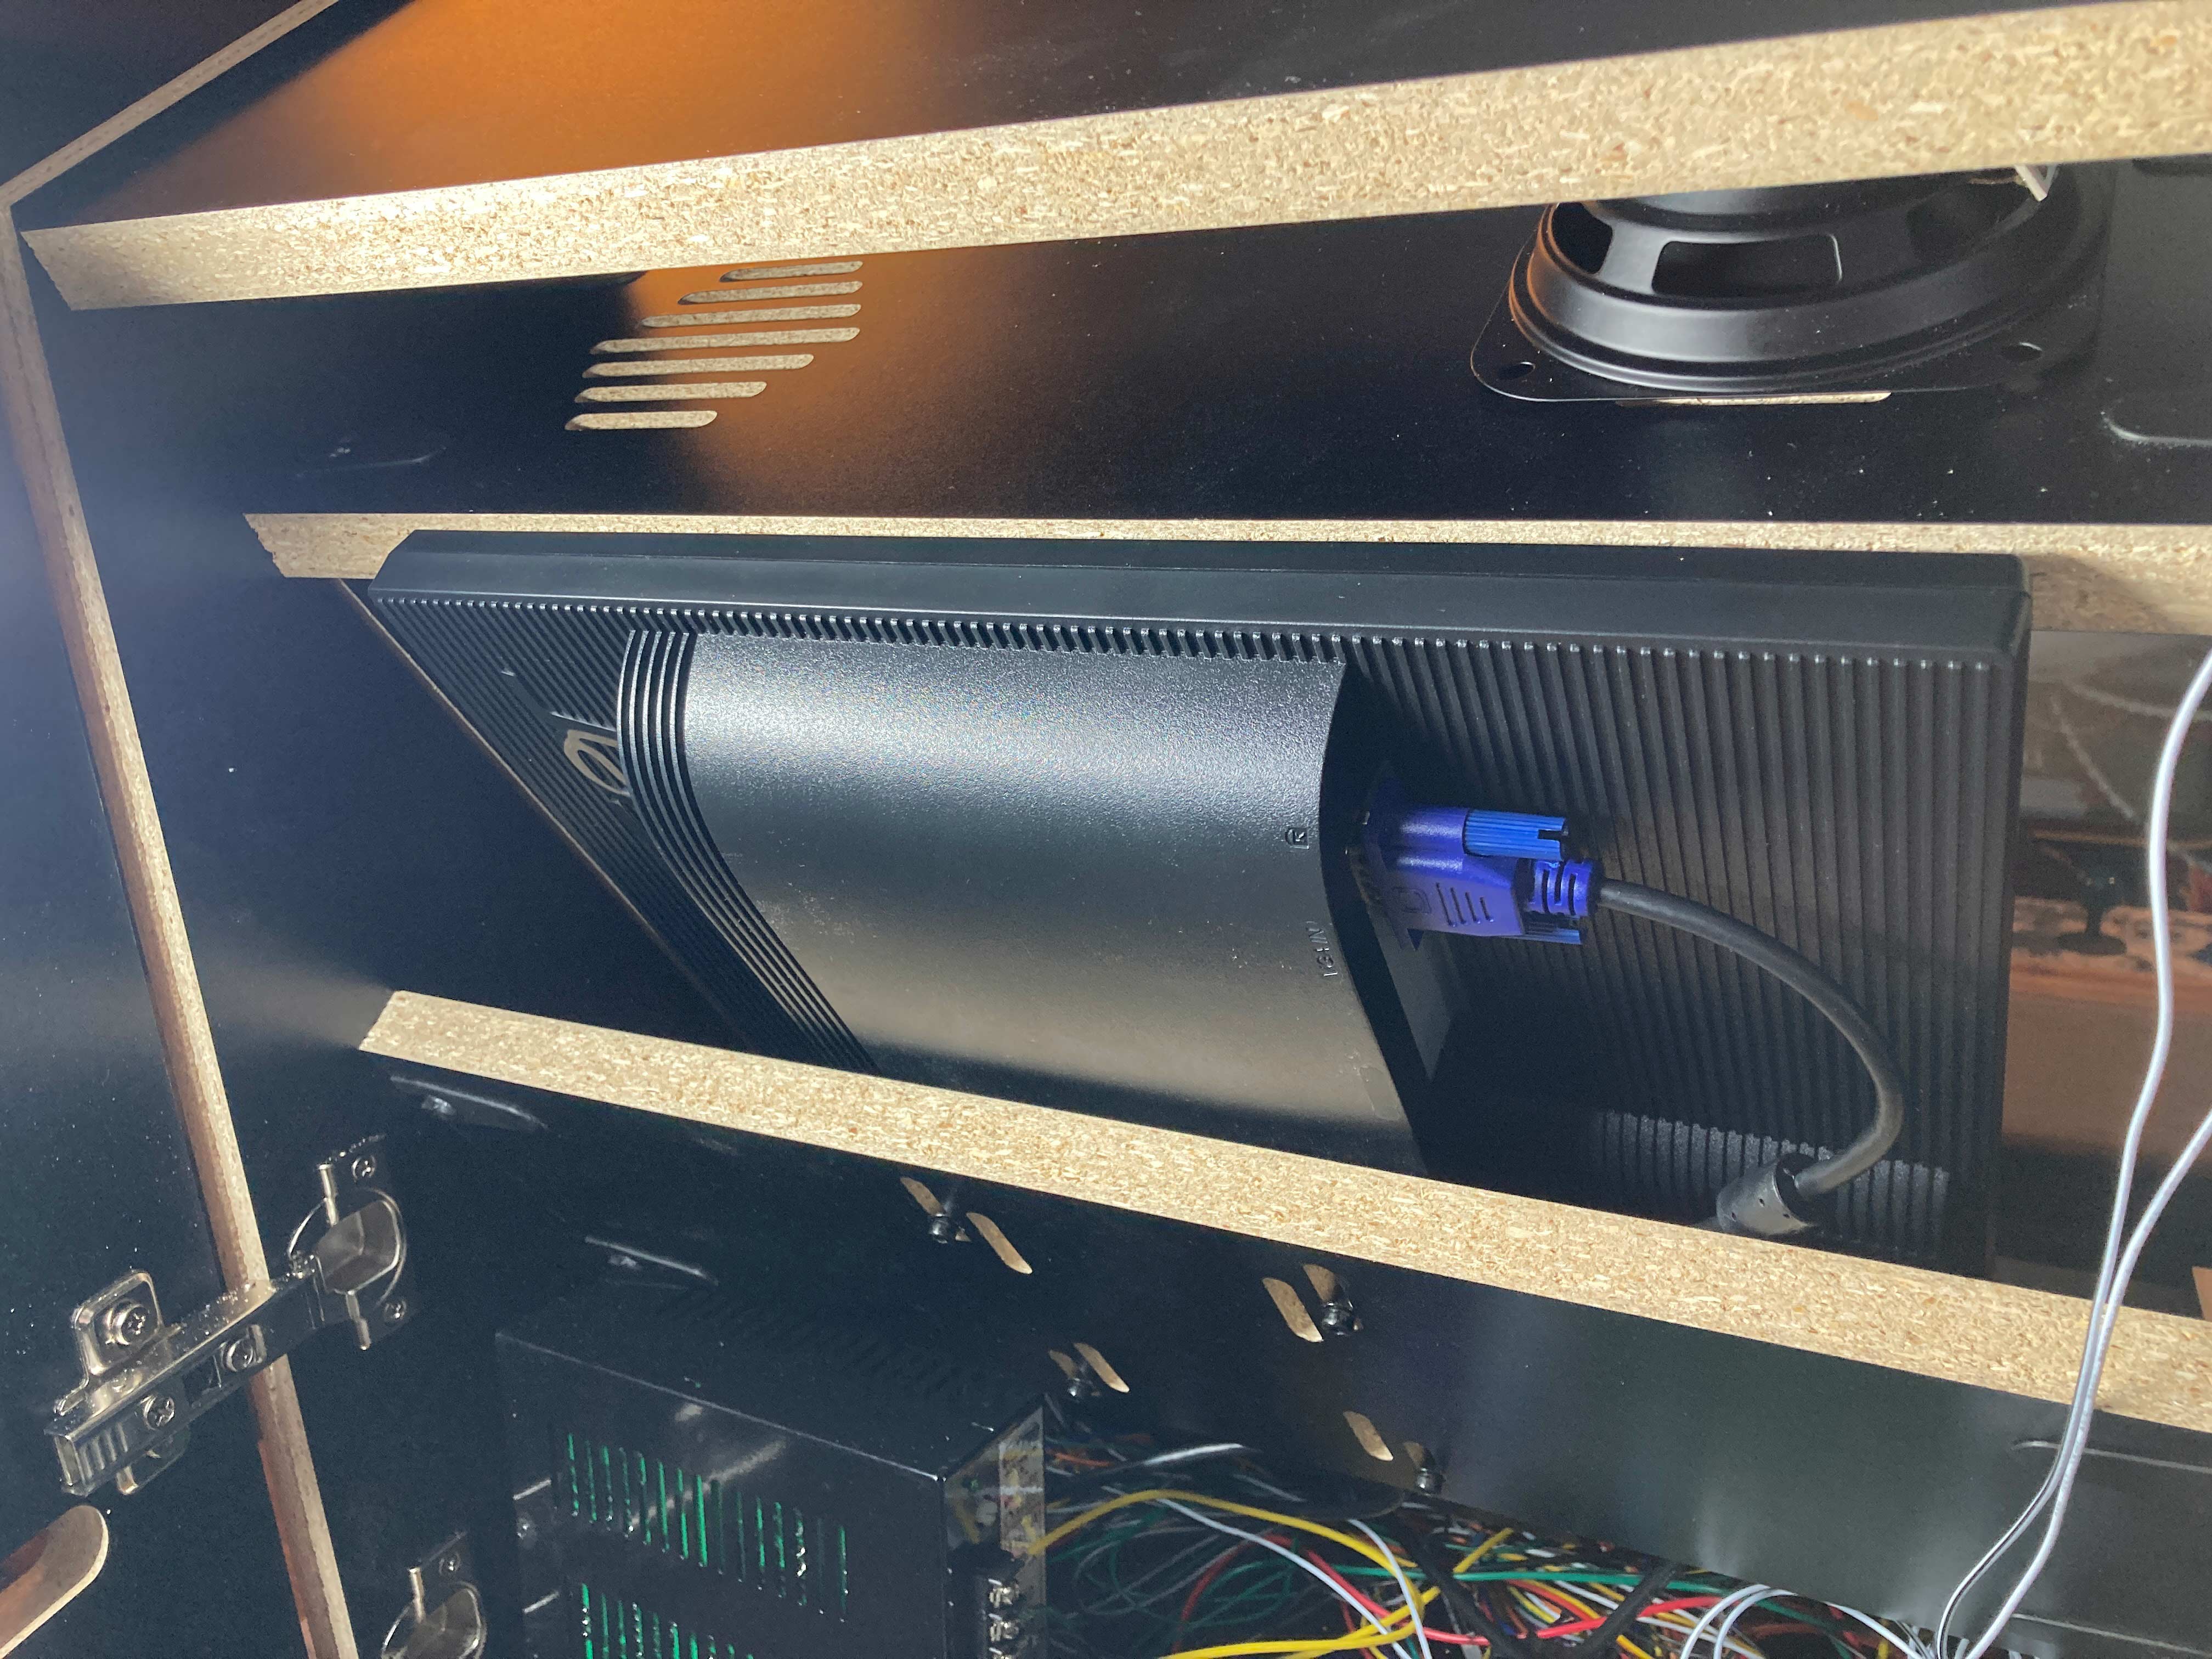
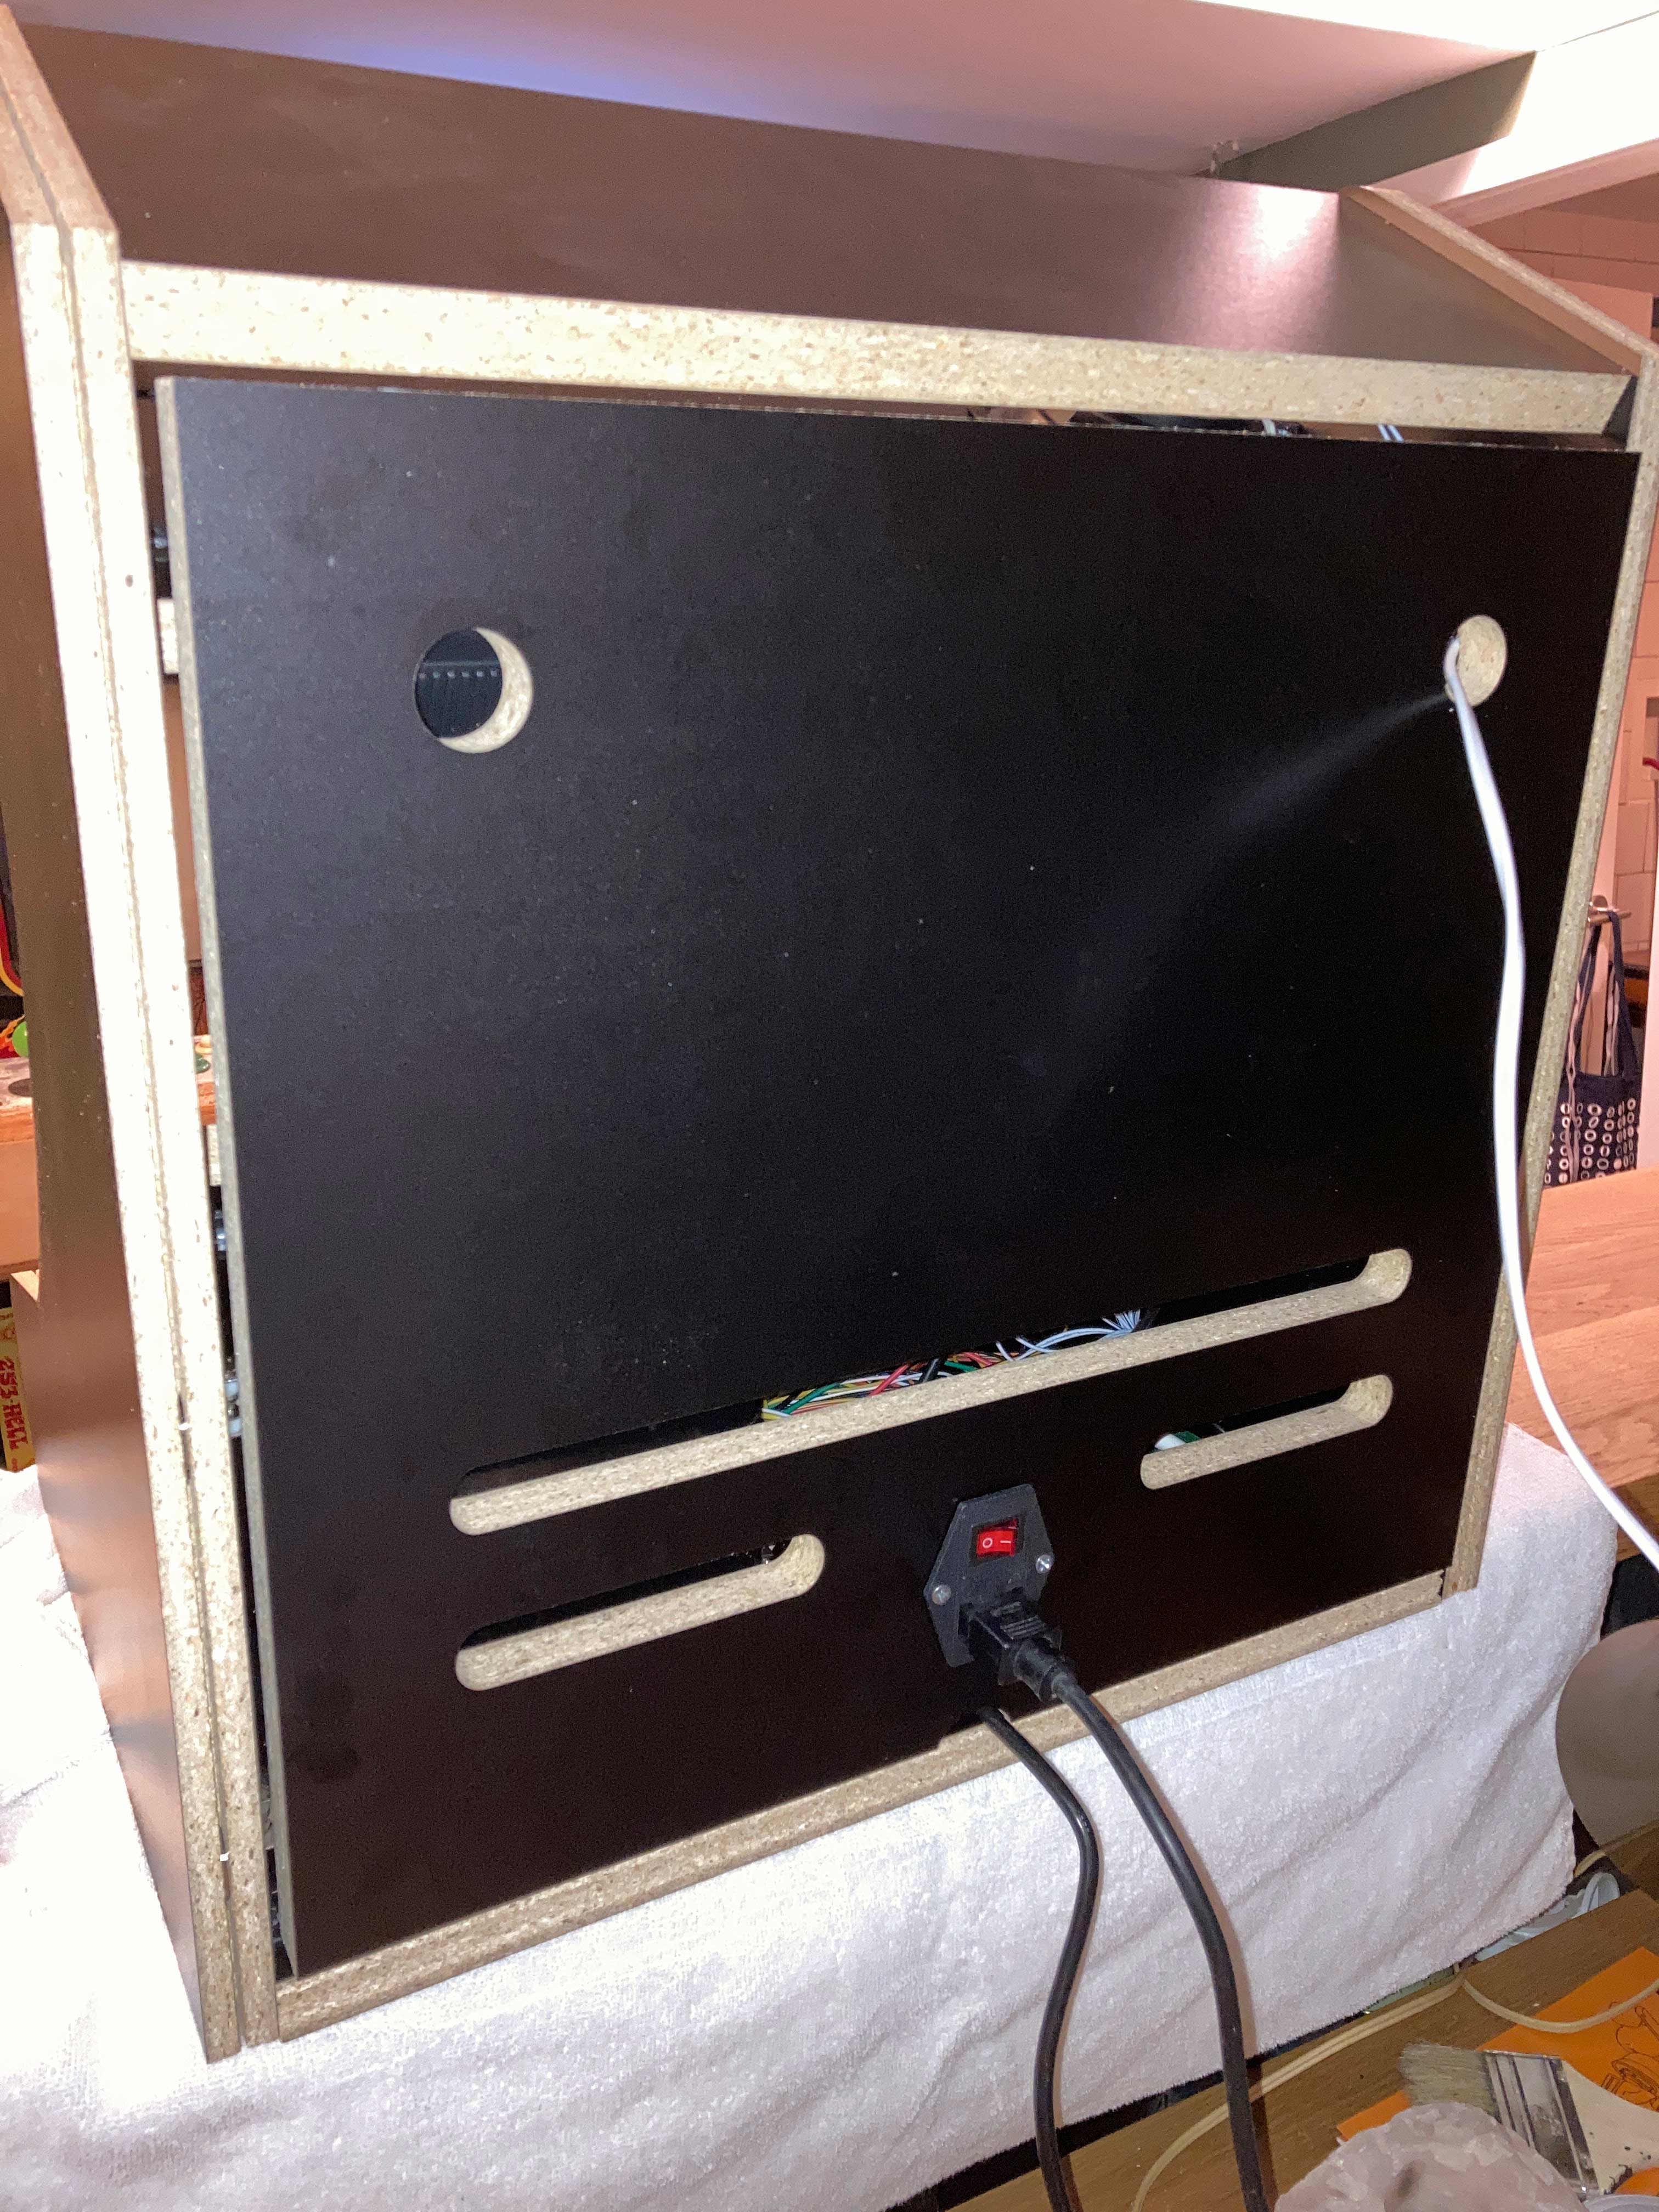
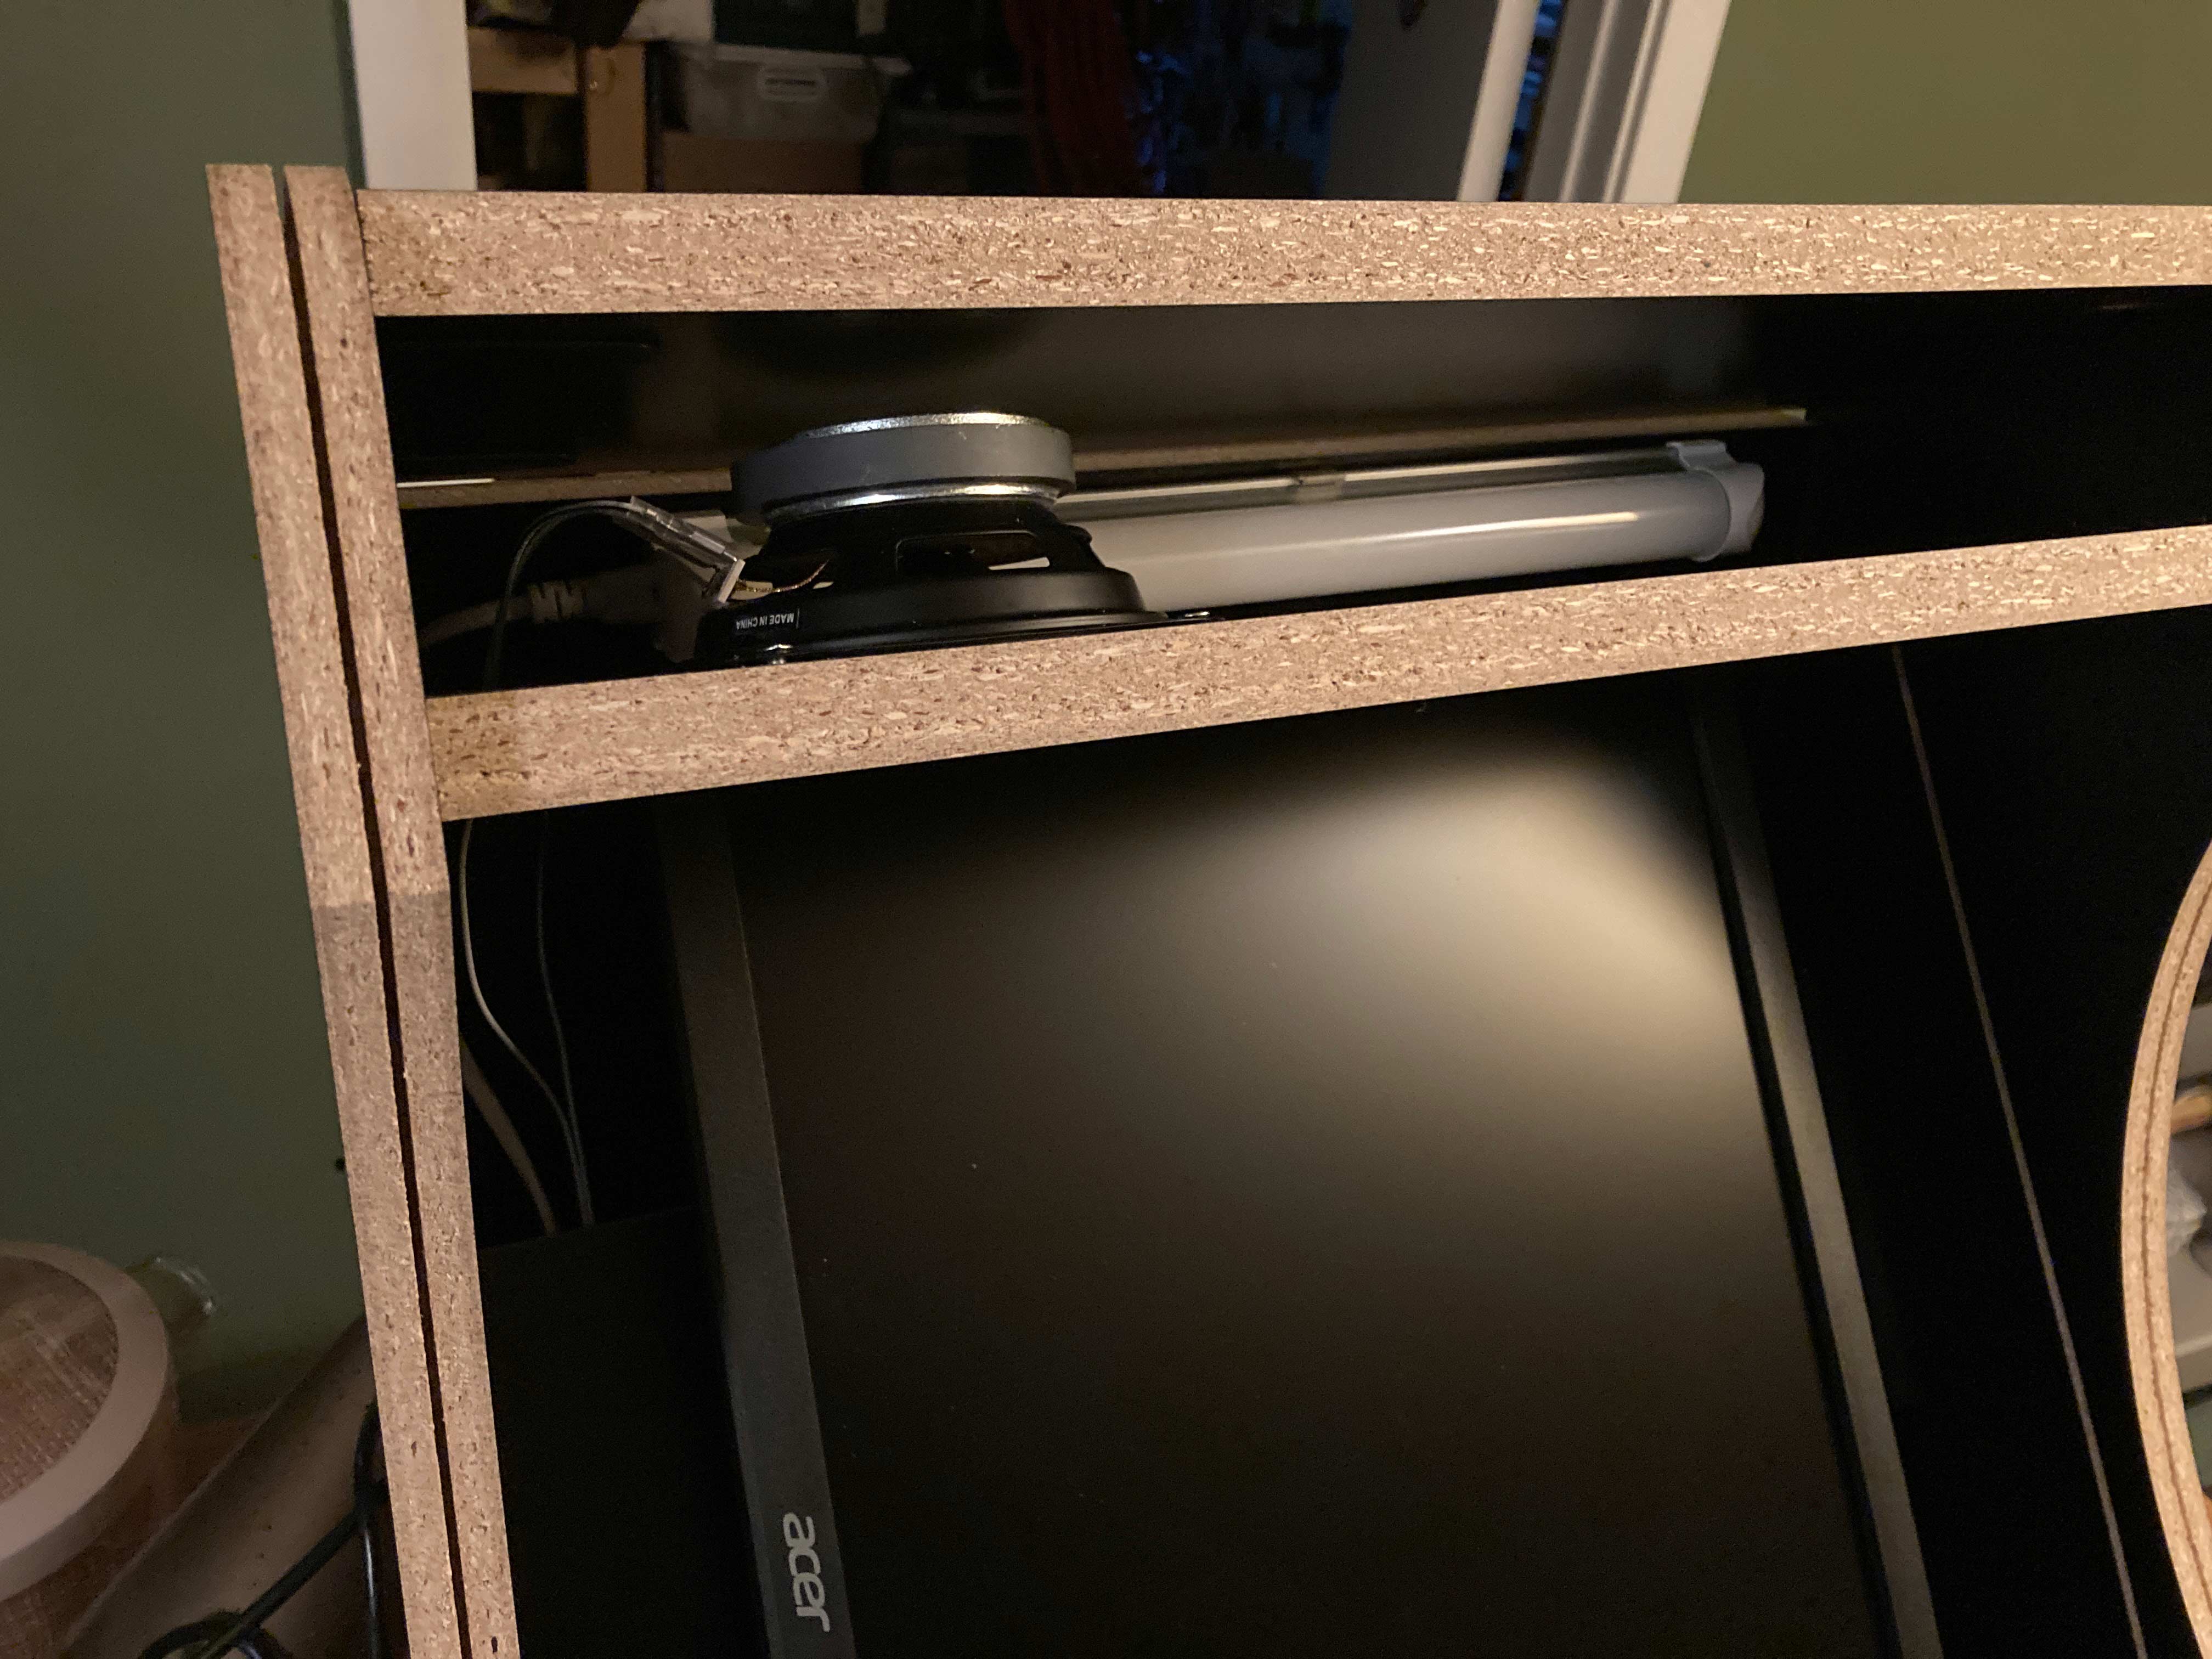
2-Display. I found an Acer 19" 4:3 VGA monitor on Amazon for $108. It barely fits, and I mean barely, but it works. As a horizontal option it would be a completely perfect fit. The depth of this monitor and the clearance available in the cabinet make it challenging to get the monitor into position for the proper viewing area while also having its top corners clear the back door of the cabinet. In the first and third image below those top two corners of the monitor rest against the back door when it is closed. Whatever display you use try to find one that is essentially just a screen, the stand for this one came unattached. It should also have VESA mounting holes on it, most do.
Because the 19" monitor barely fit vertically I decided to swap it out with a 17" monitor. The game board I'm using in this vertical machine utilizes the entire screen and with the 19" monitor the edges of the screen aren't very visible so it interferes with gameplay. But, I'll be using the 19" monitor in another cabinet as a horizontal version. Most of the images on this page however feature the 19" monitor.
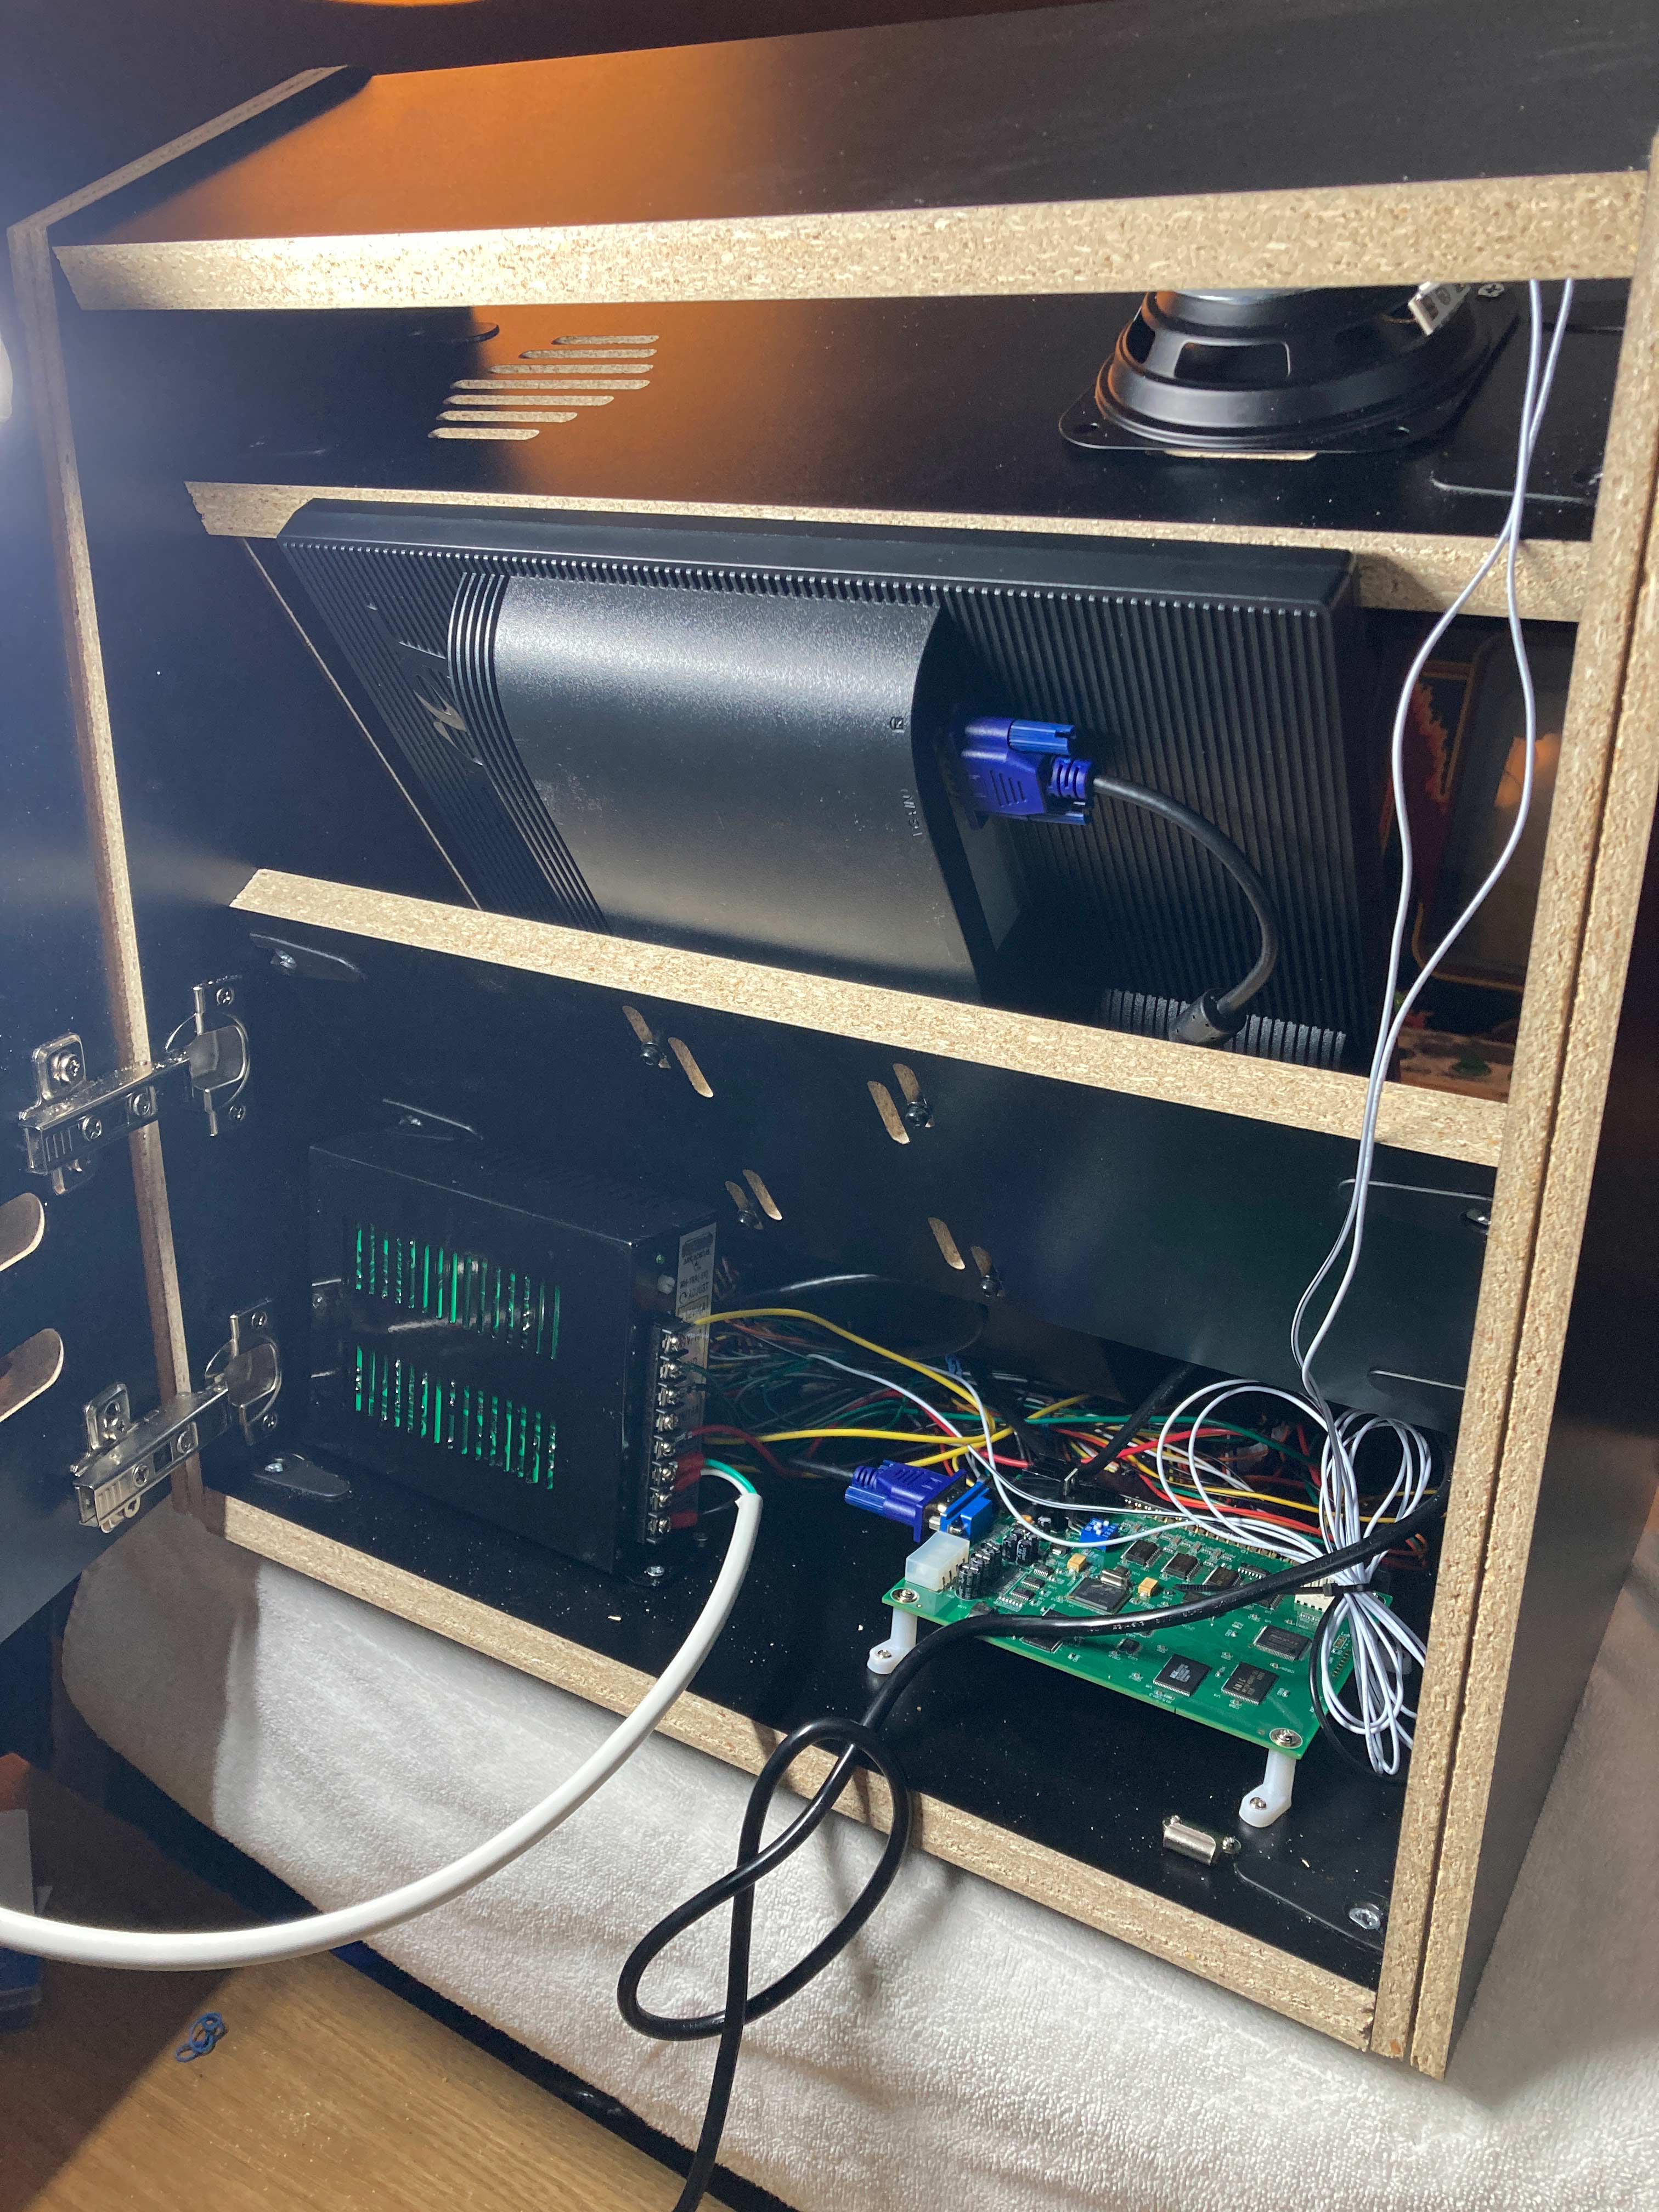
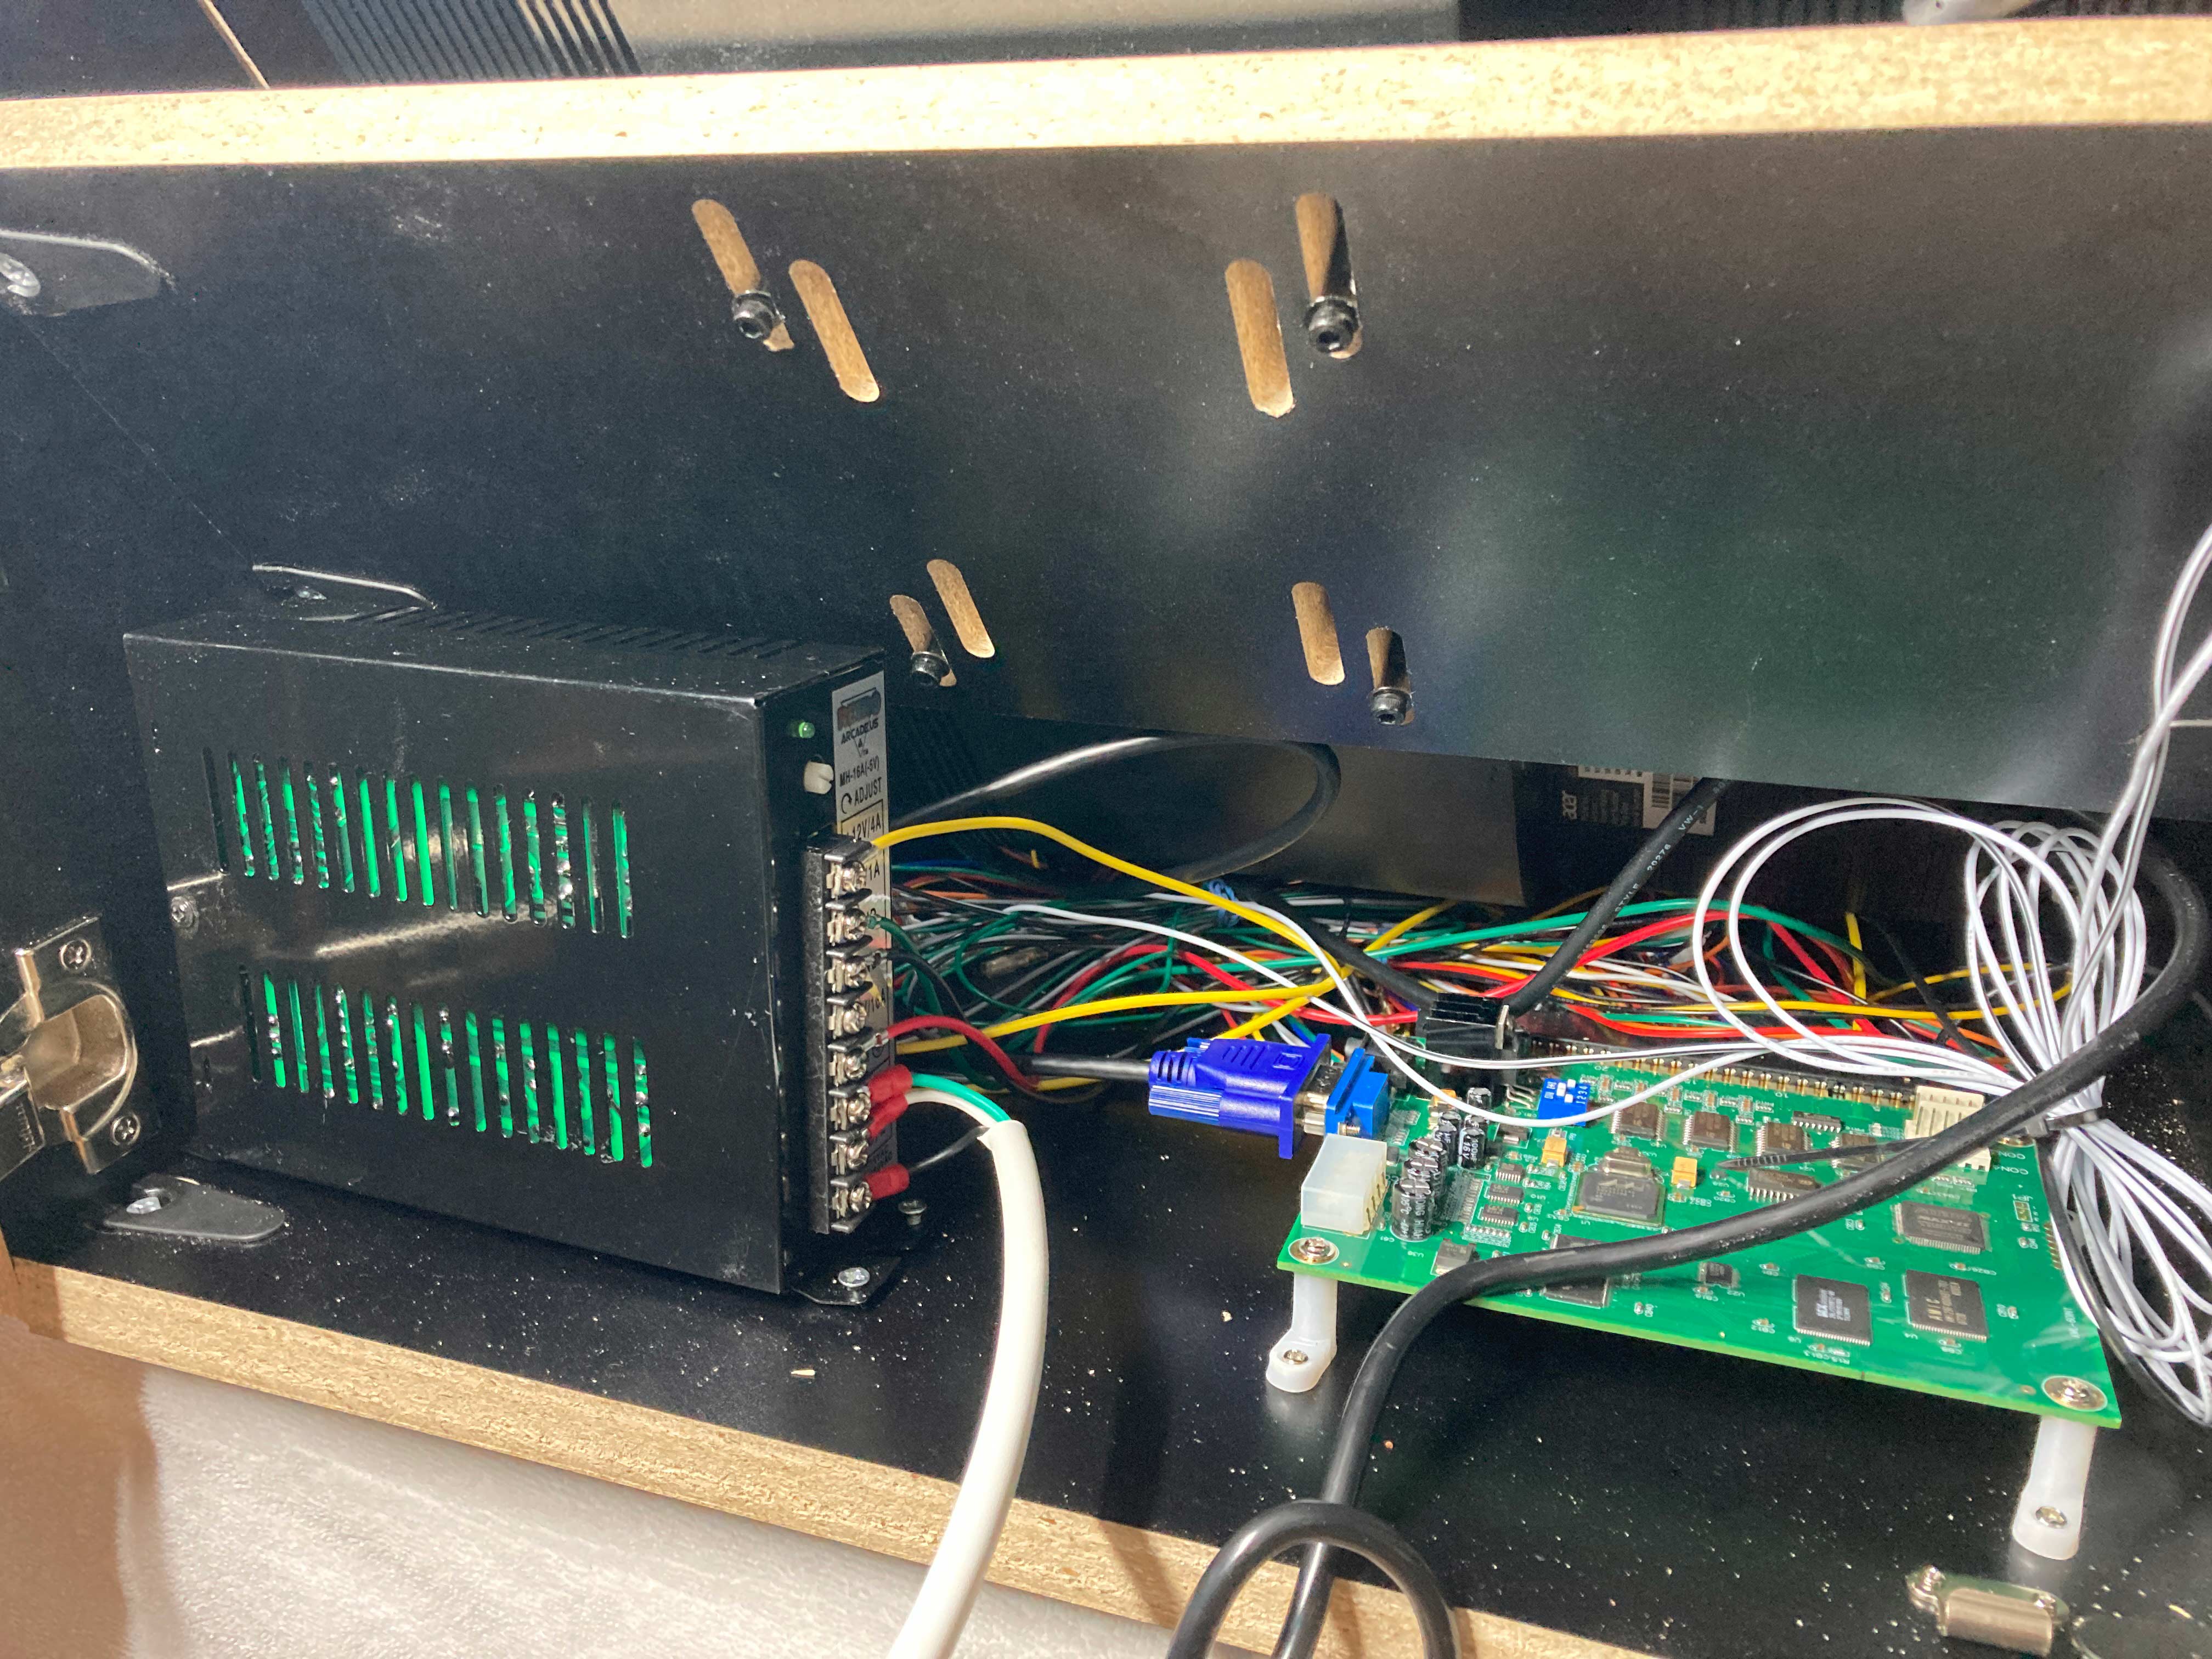
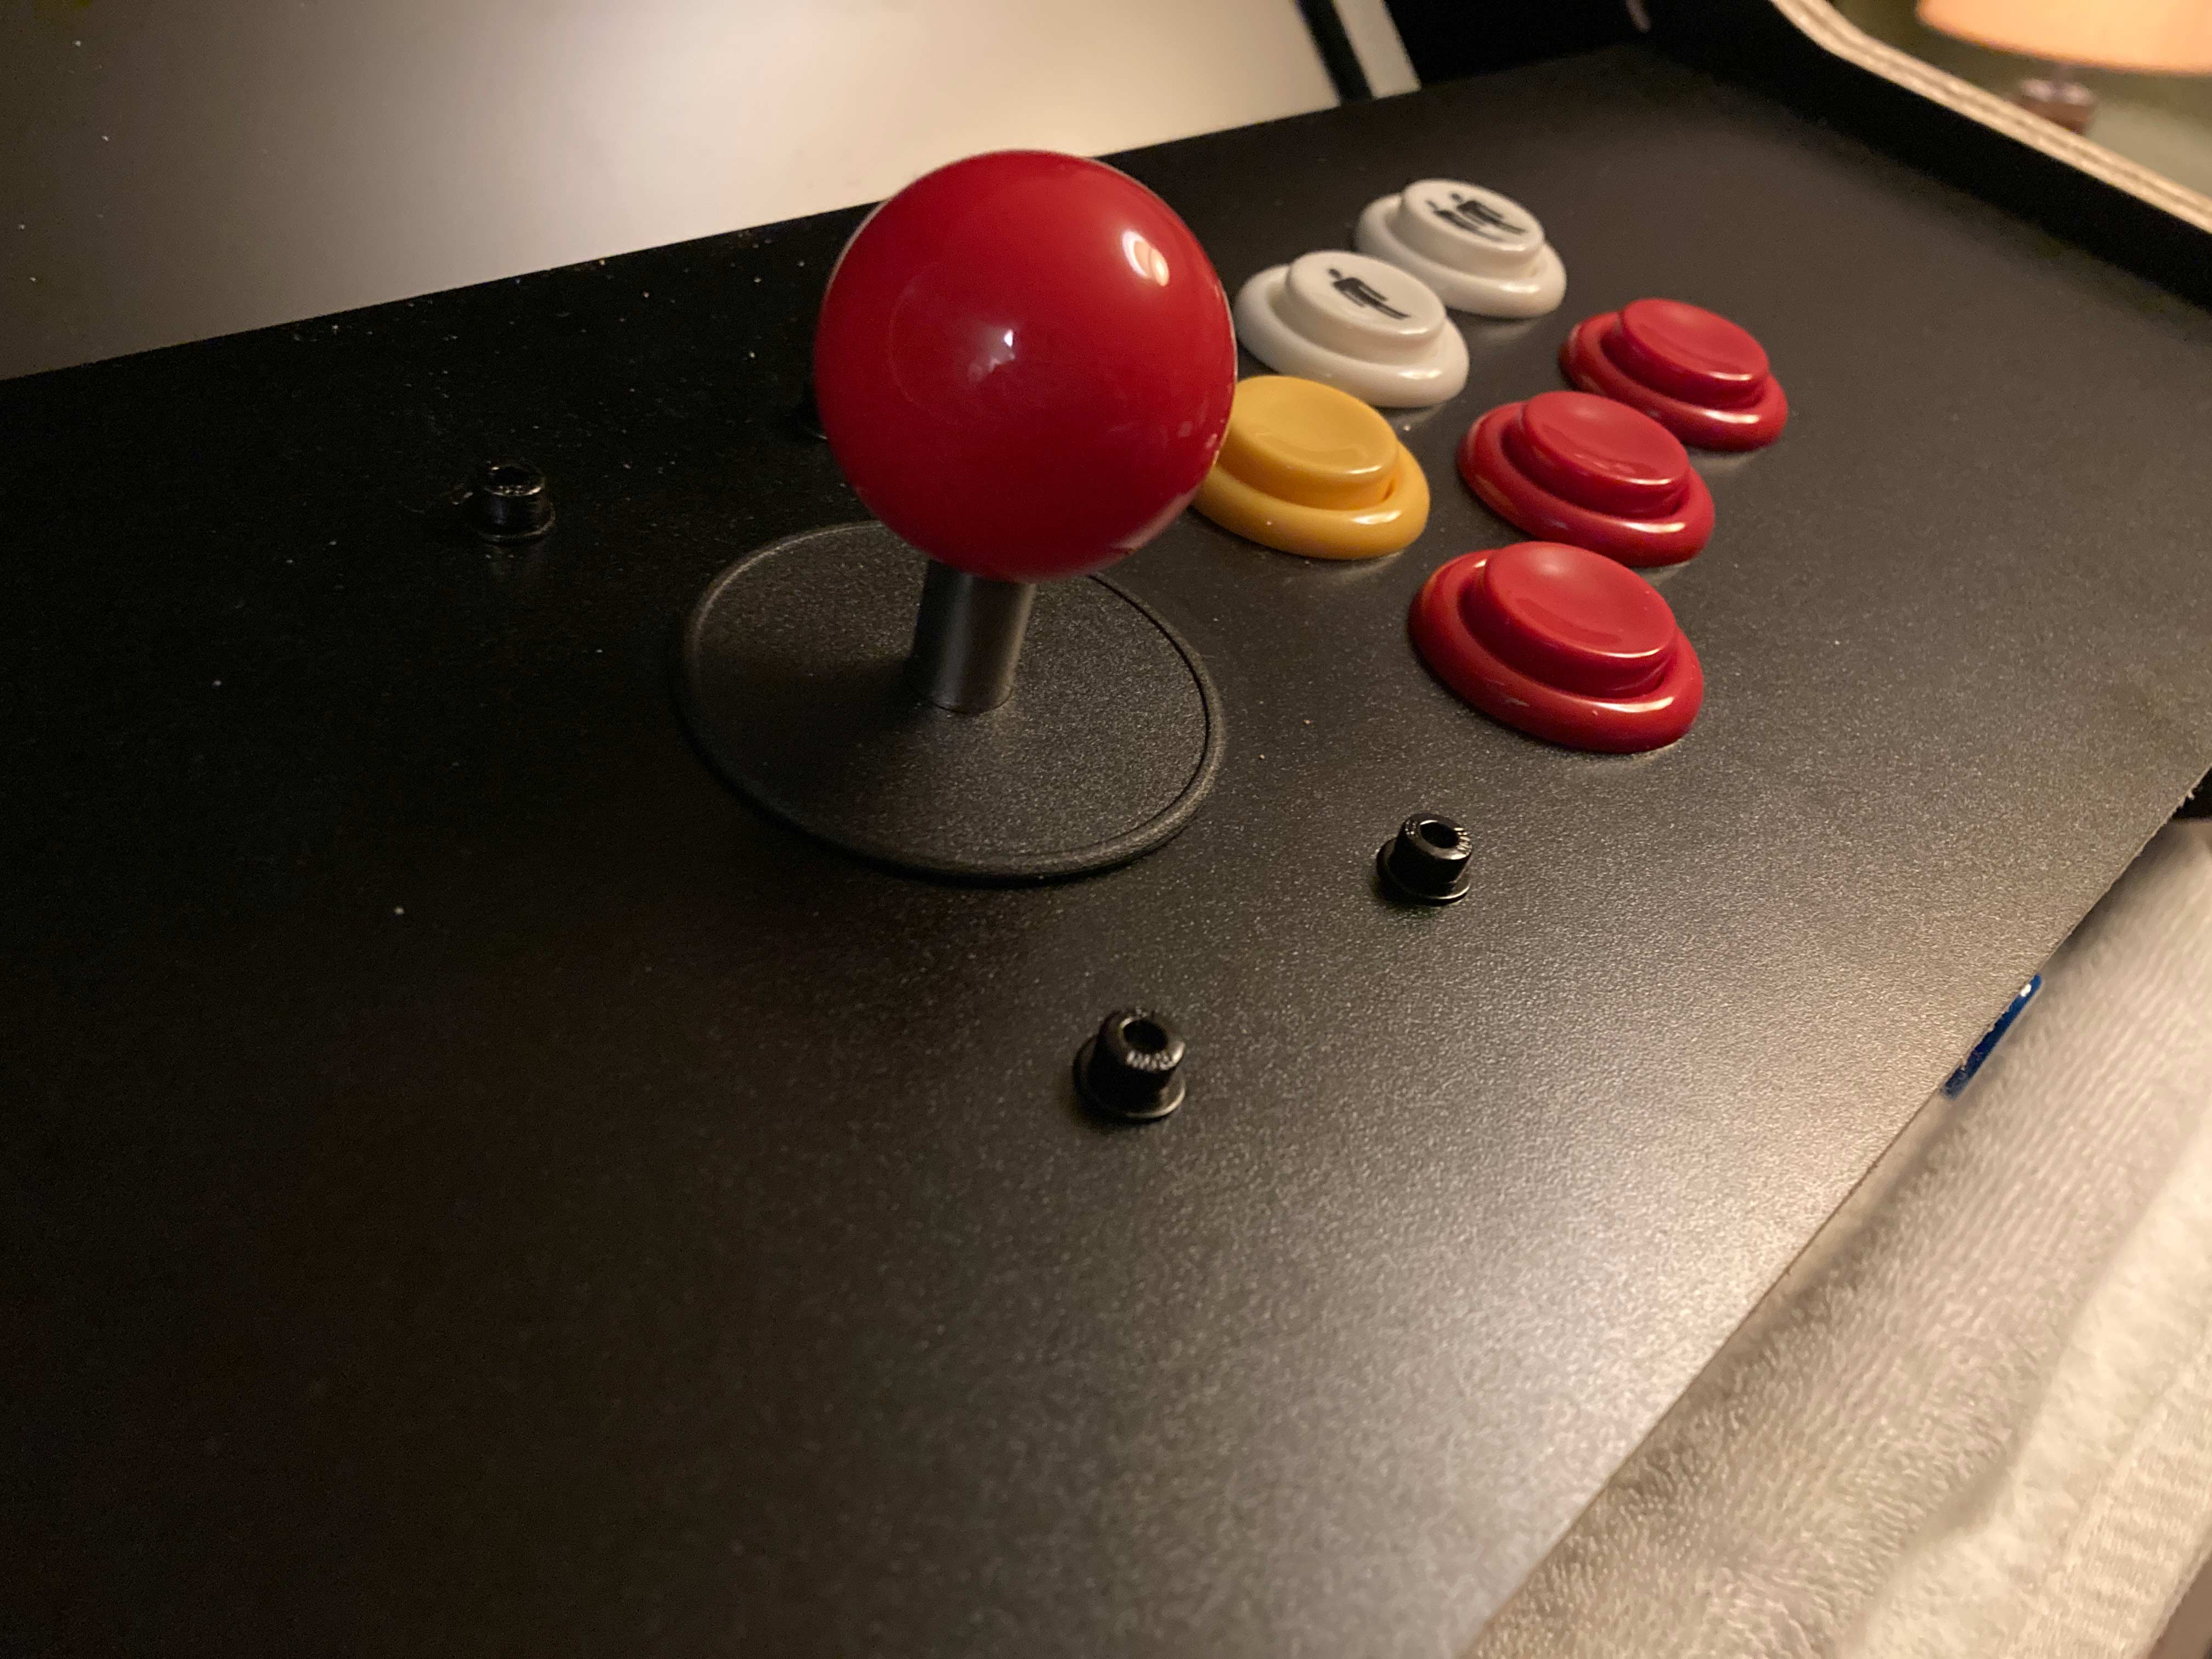
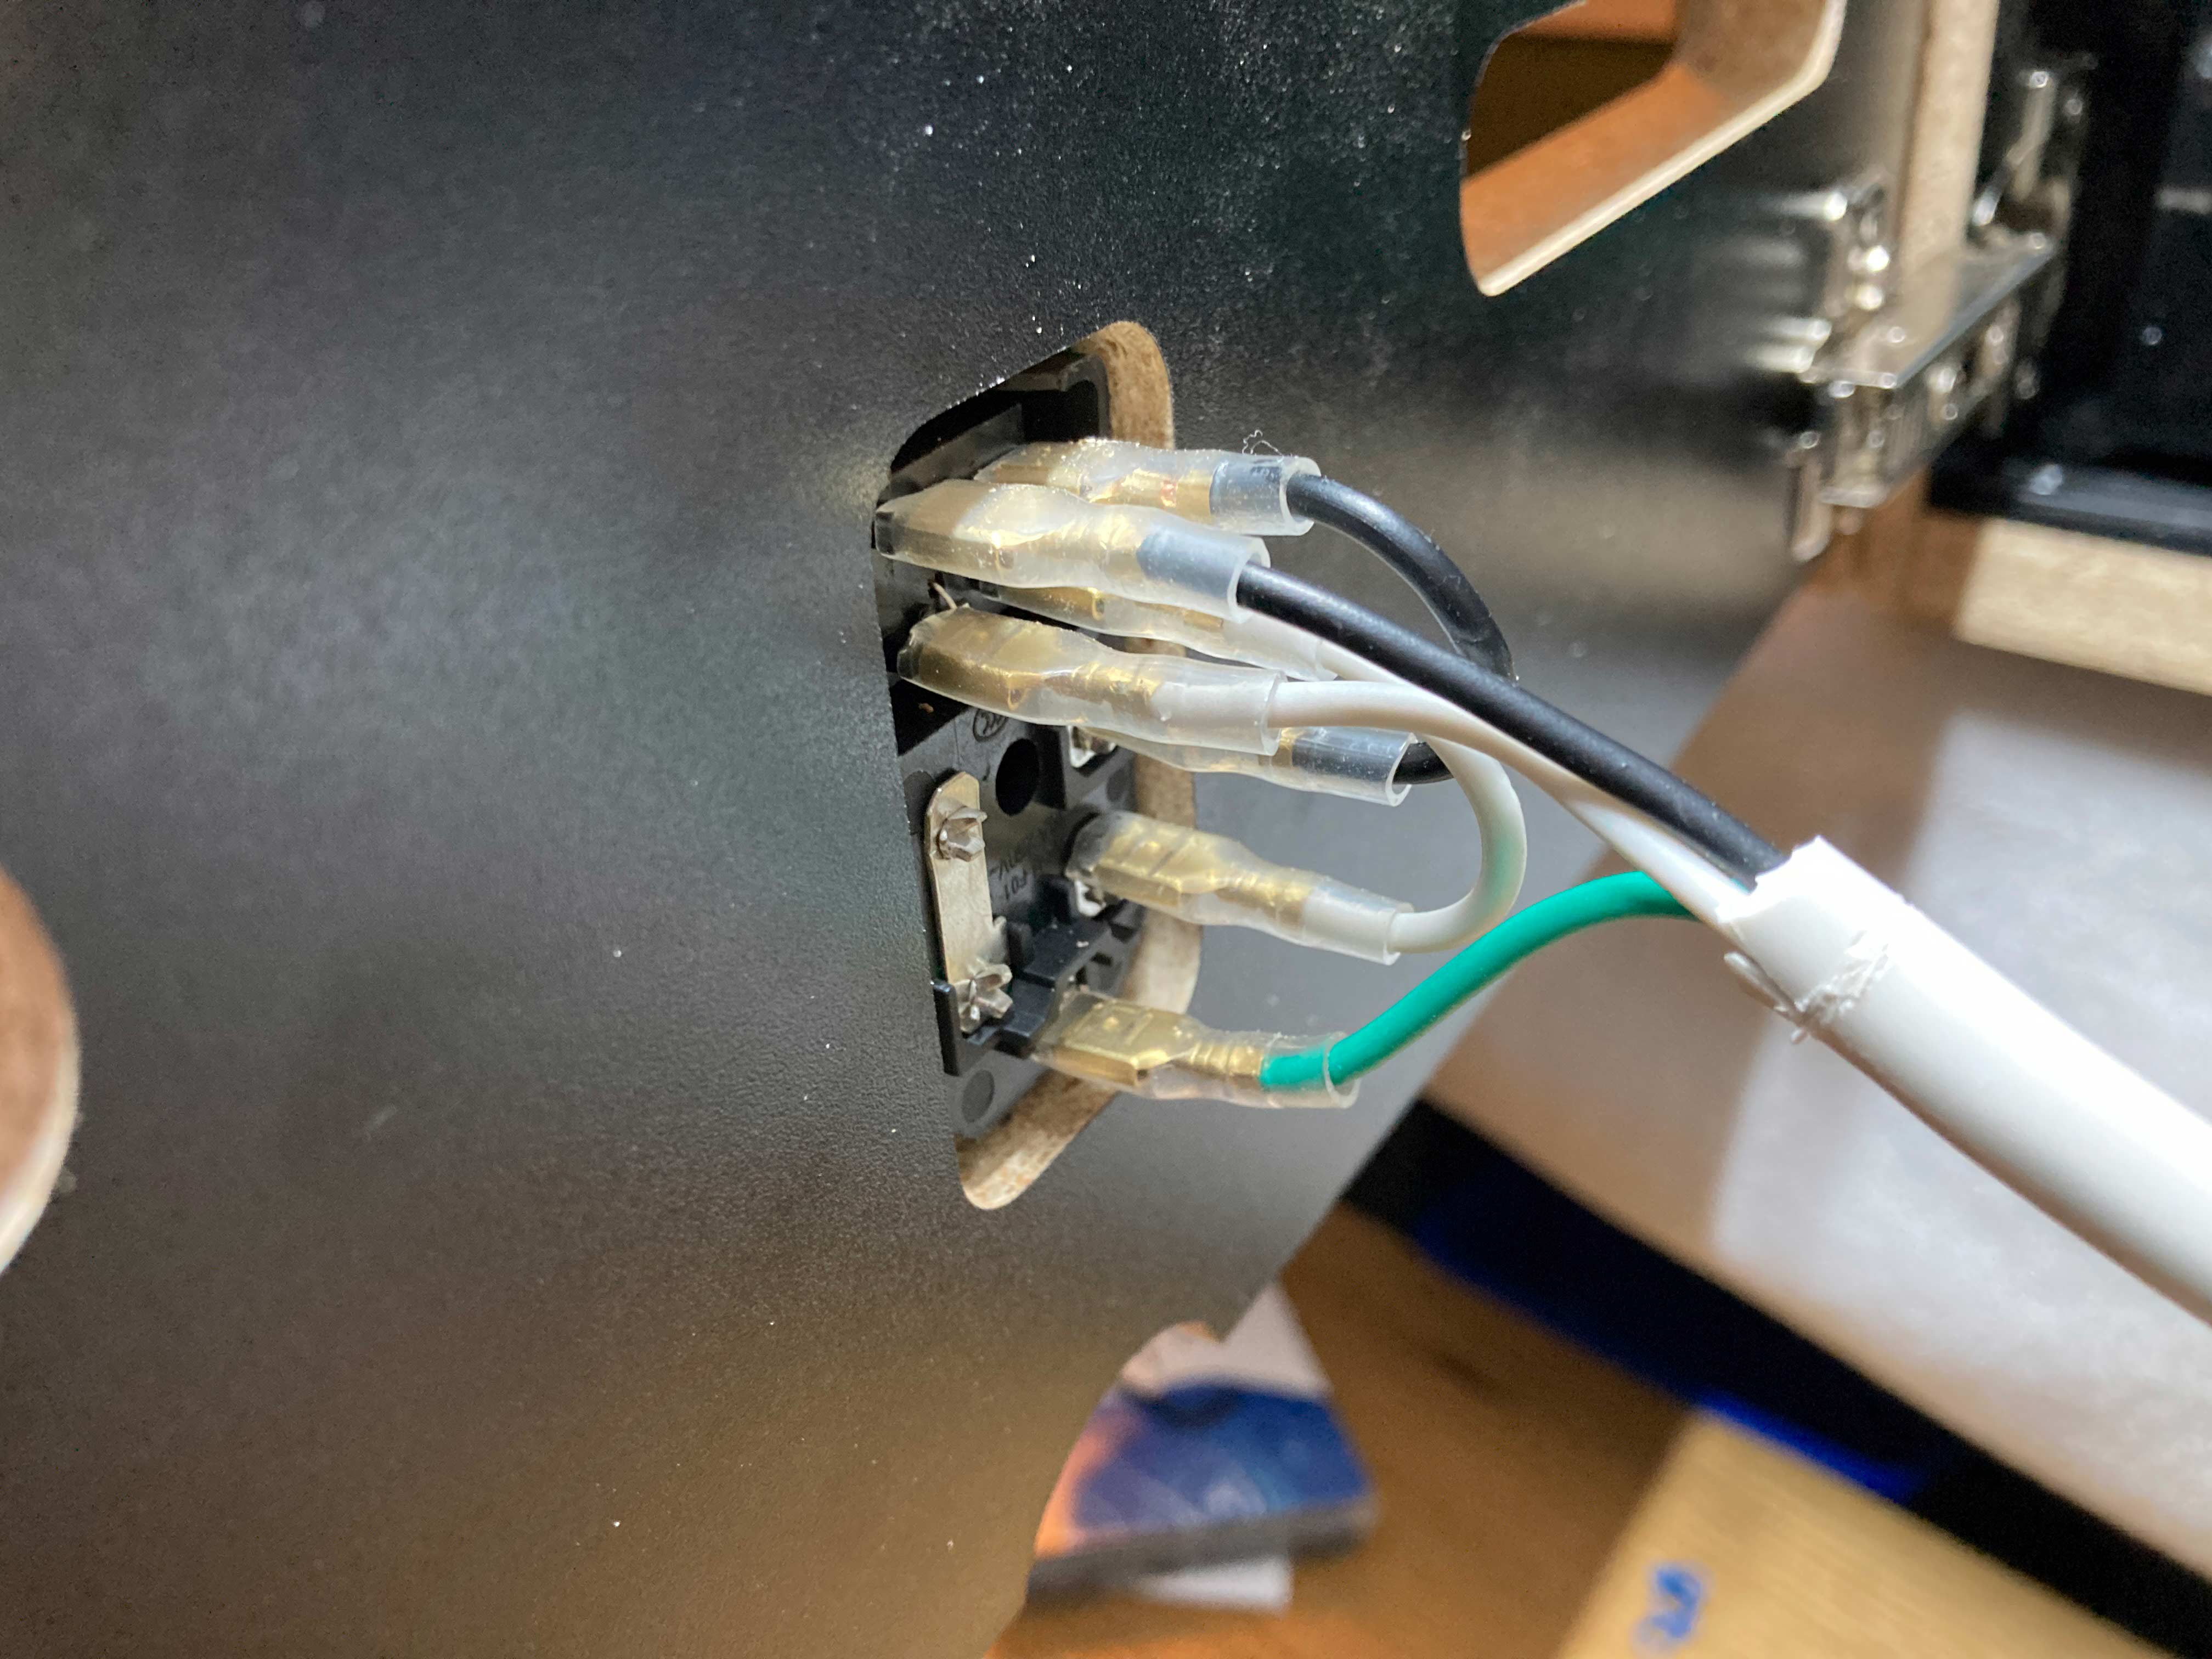
3-Wiring/Controls. This kit ($43) came from Amazon but the company is hollandcomputers.com. It has a power supply, joystick, buttons, and a JAMMA wiring harness. You'll need three more buttons than this kit includes. I like the Ultimarc Goldleaf silent ones. The buttons with the kit fit into 28mm holes so to keep it simple I keep them all the same. The cabinet maker will drill holes to your specs and most buttons come in 24mm, 28mm, or 30mm sizes. The cabinet is 3/4" thick so don't get buttons that are too shallow like some of the lighted LED ones you'll need spacers/adapters. You will also need a power switch to connect to the power supply as well as a standard computer power cable for the switch itself. This particular one I have linked to will show you what you need but do more research, this one seems to have some dubious reviews. I actually purchased a more stripped-down version and did a lot of the wiring myself that you can see here using an old power cord.
I also replaced the joystick that came with the wiring kit. This one is smoother and avoids the clickety-clack of the microswitches. I swapped it for the same reason that I swapped the buttons, I don't like the click. If you plan to swap all your buttons and joysticks anyway the kit is probably still a good bet for the price than buying the power supply and JAMMA wiring harness separately.
4-PCB/Game. This setup will accept any PCB that conforms to the JAMMA standard. It could run my 1990 Konami Aliens game (by rotating the monitor to a horizontal orientation and including an extra card to convert the analog video signal from the Aliens PCB into a digital one.) There are a large number of all-in-one JAMMA-standard printed circuit boards available that include things like a VGA output right on the board itself. Just search at places where you buy things! 19-in-1 is the horizontal version which includes games like Joust, Defender, and Robotron. The 60-in-1 I used for this build has games like Pac-Man, Galaga, Donkey Kong, and Xevious. The choice of your PCB can affect the controls you will need. The 19-in-1 needs two joysticks plus 6 shoot buttons in addition to the 1 & 2 player start, coin, test, and service buttons in order to play all the games. The 60-in-1 needs the setup included above-1 joystick, 3 shoot buttons, 1 & 2 player start, coin, test, and service. You can include a trackball for the 60-in-1 but games such as Centipede can be played with a joystick and trackballs can be expensive. Other PCBs may need different control setups. 412 games- this one seems to have most of the vertical arcade game. 750 games- this one appears to have the horizontal games. 5000 games- this has a lot of fighting games as well as huge libraries of console games (think Sega Dreamcast). I can't vouch for any of these cards at all.
5-Extras. You'll want sound I assume! The cabinet has a place for two speakers but one works perfectly fine it isn't in stereo anyway. I got this simple cheap 4" speaker. I could have done a better job with the mounting so the light doesn't leak through the speaker grill but I can cover that when I cover the other empty side. The Aliens PCB has a volume knob on the board itself. The board I used for this build does not but the volume can be controlled in the service menus. Arcade parts stores will often have cheap (~$15) mini amps with inline volume controls to make it more practical to control or turn off the volume. The marquee area is tiny but I put a 12" LED strip light in there attached to the back door. I will get a piece of translucent acrylic to cover the opening and hide the speakers and possibly put some lettering on that. I will also get a piece of clear acrylic to protect the screen and paint strips down the sides of it to hide the interior of the cabinet. There are slots for a screen protector cut into the cabinet sides. To mount the monitor into the cabinet I had to buy M4 (4mm) screws. I also used these to mount the joystick. The edges of the cabinet are routed to take 3/4" t-molding with many colors to choose from. That site also has game parts. For the sides I found cool 3" decals to use as decoration.
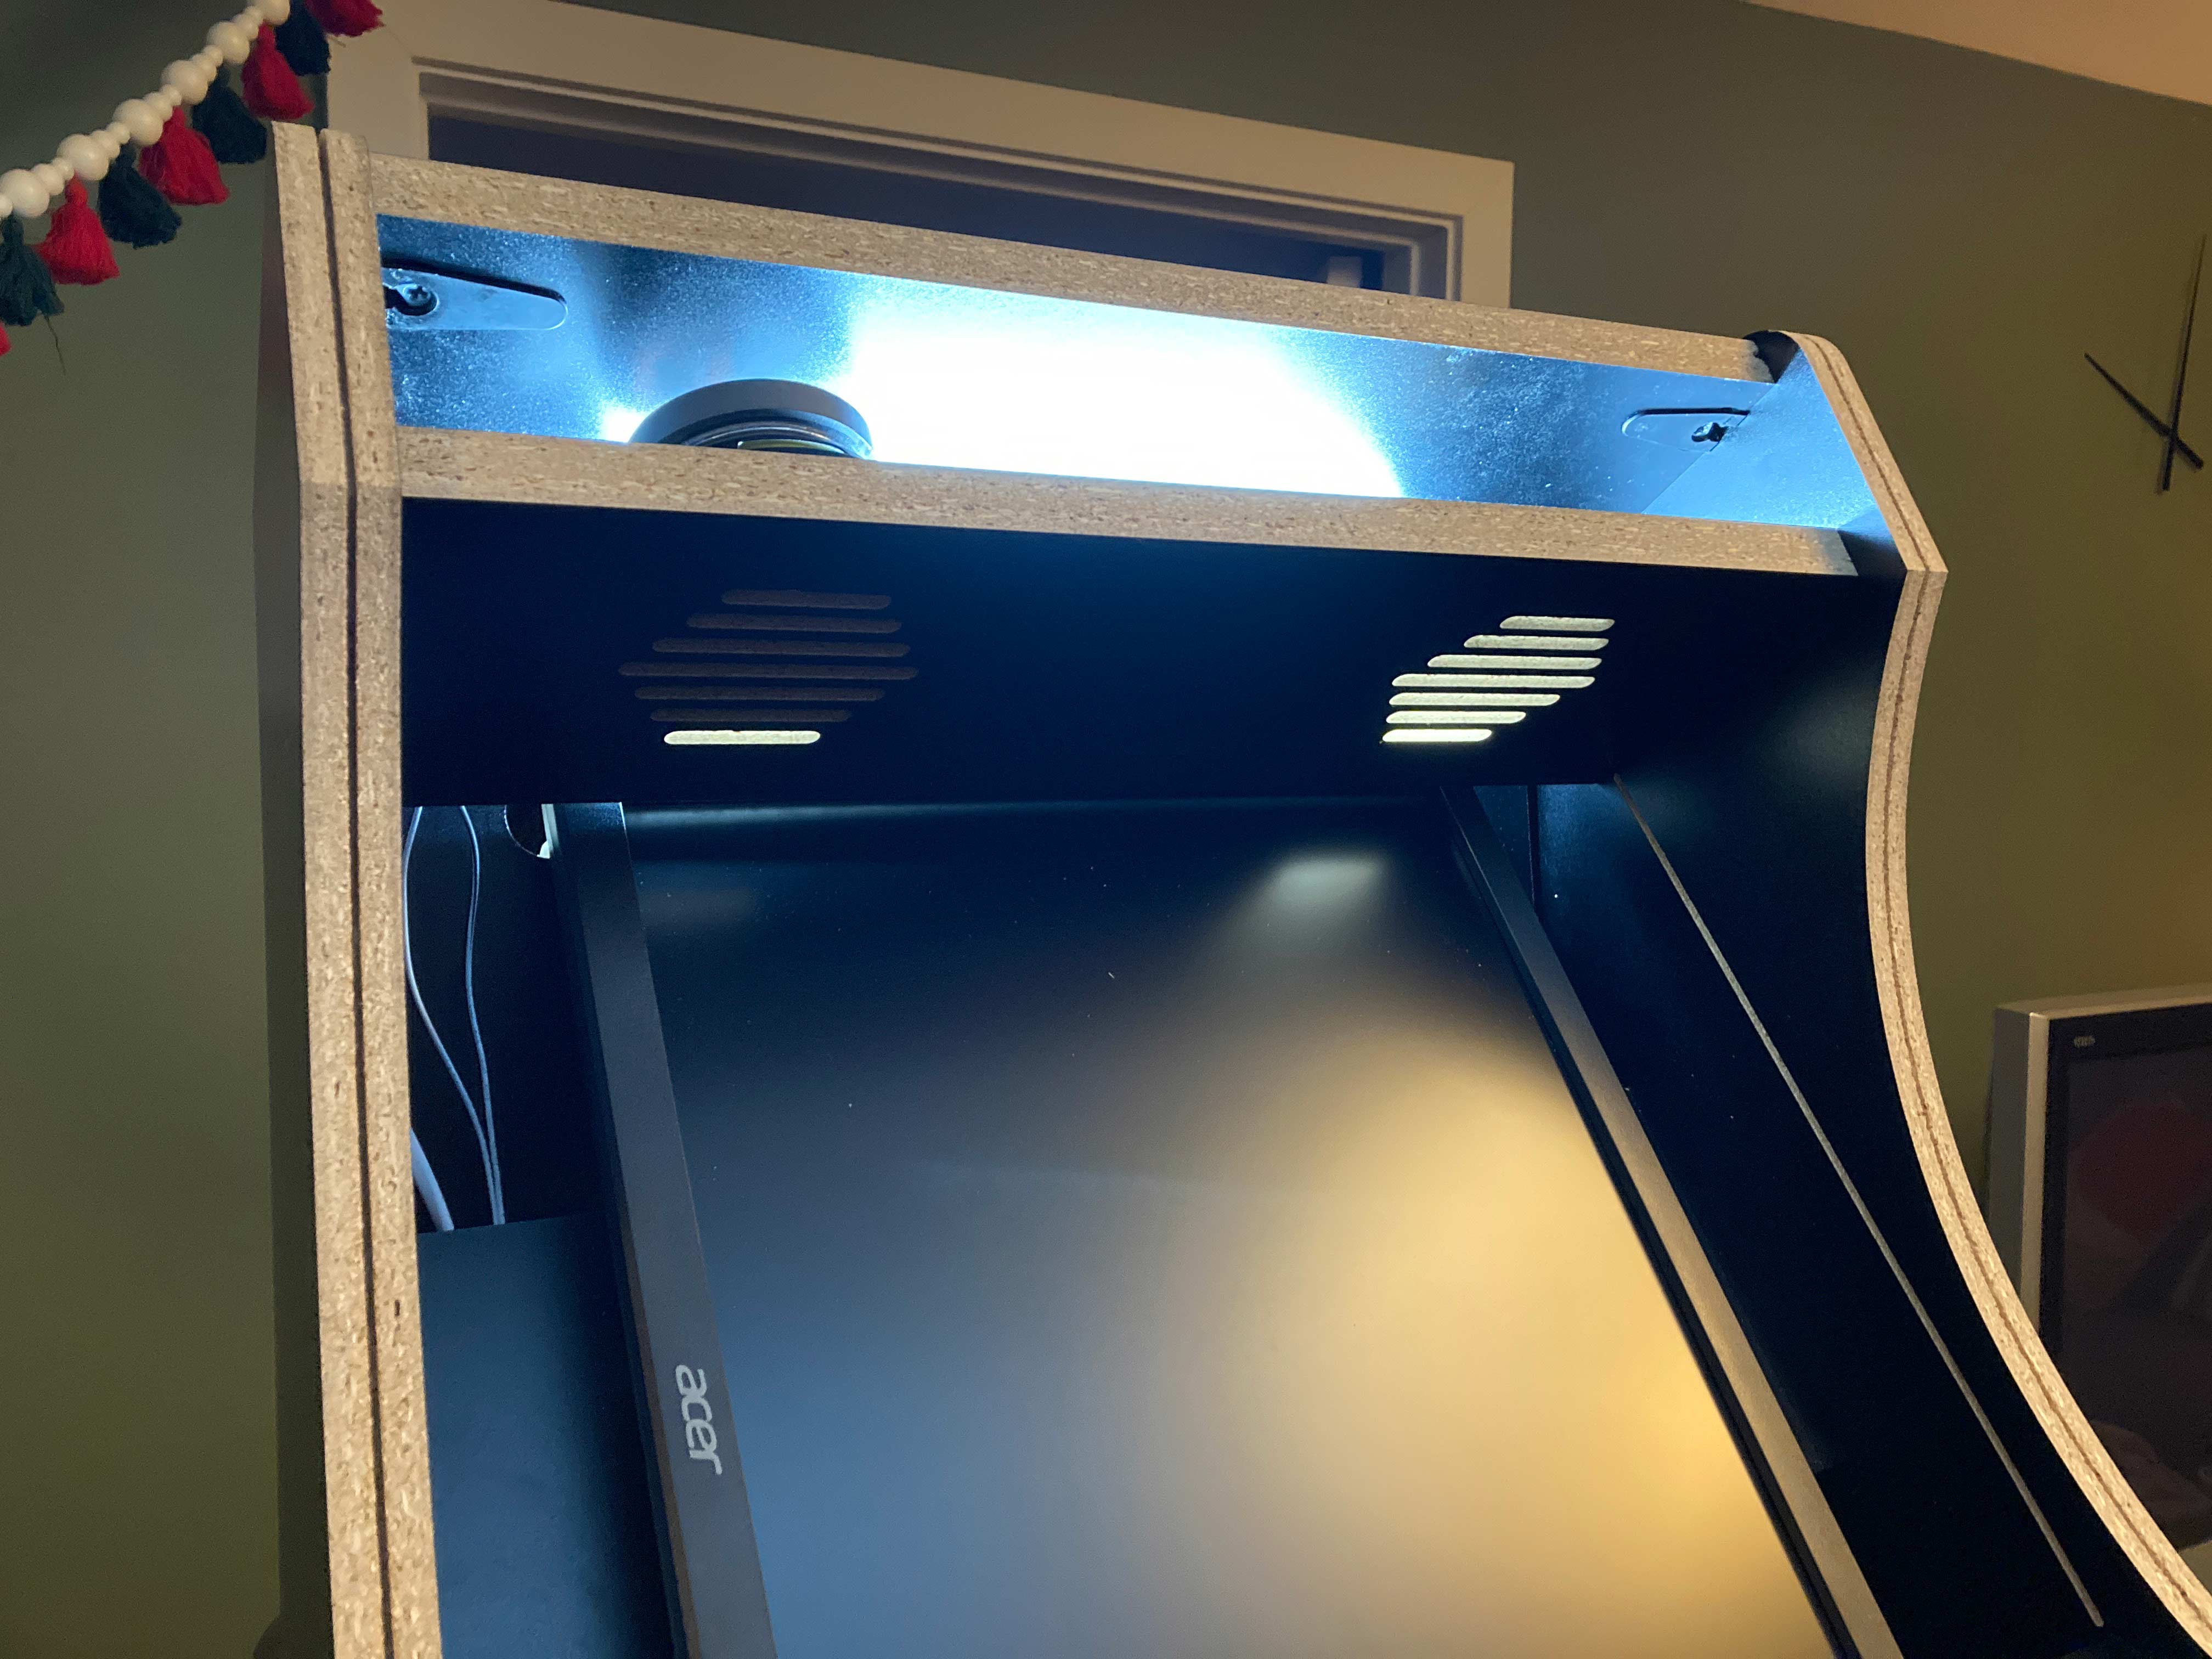
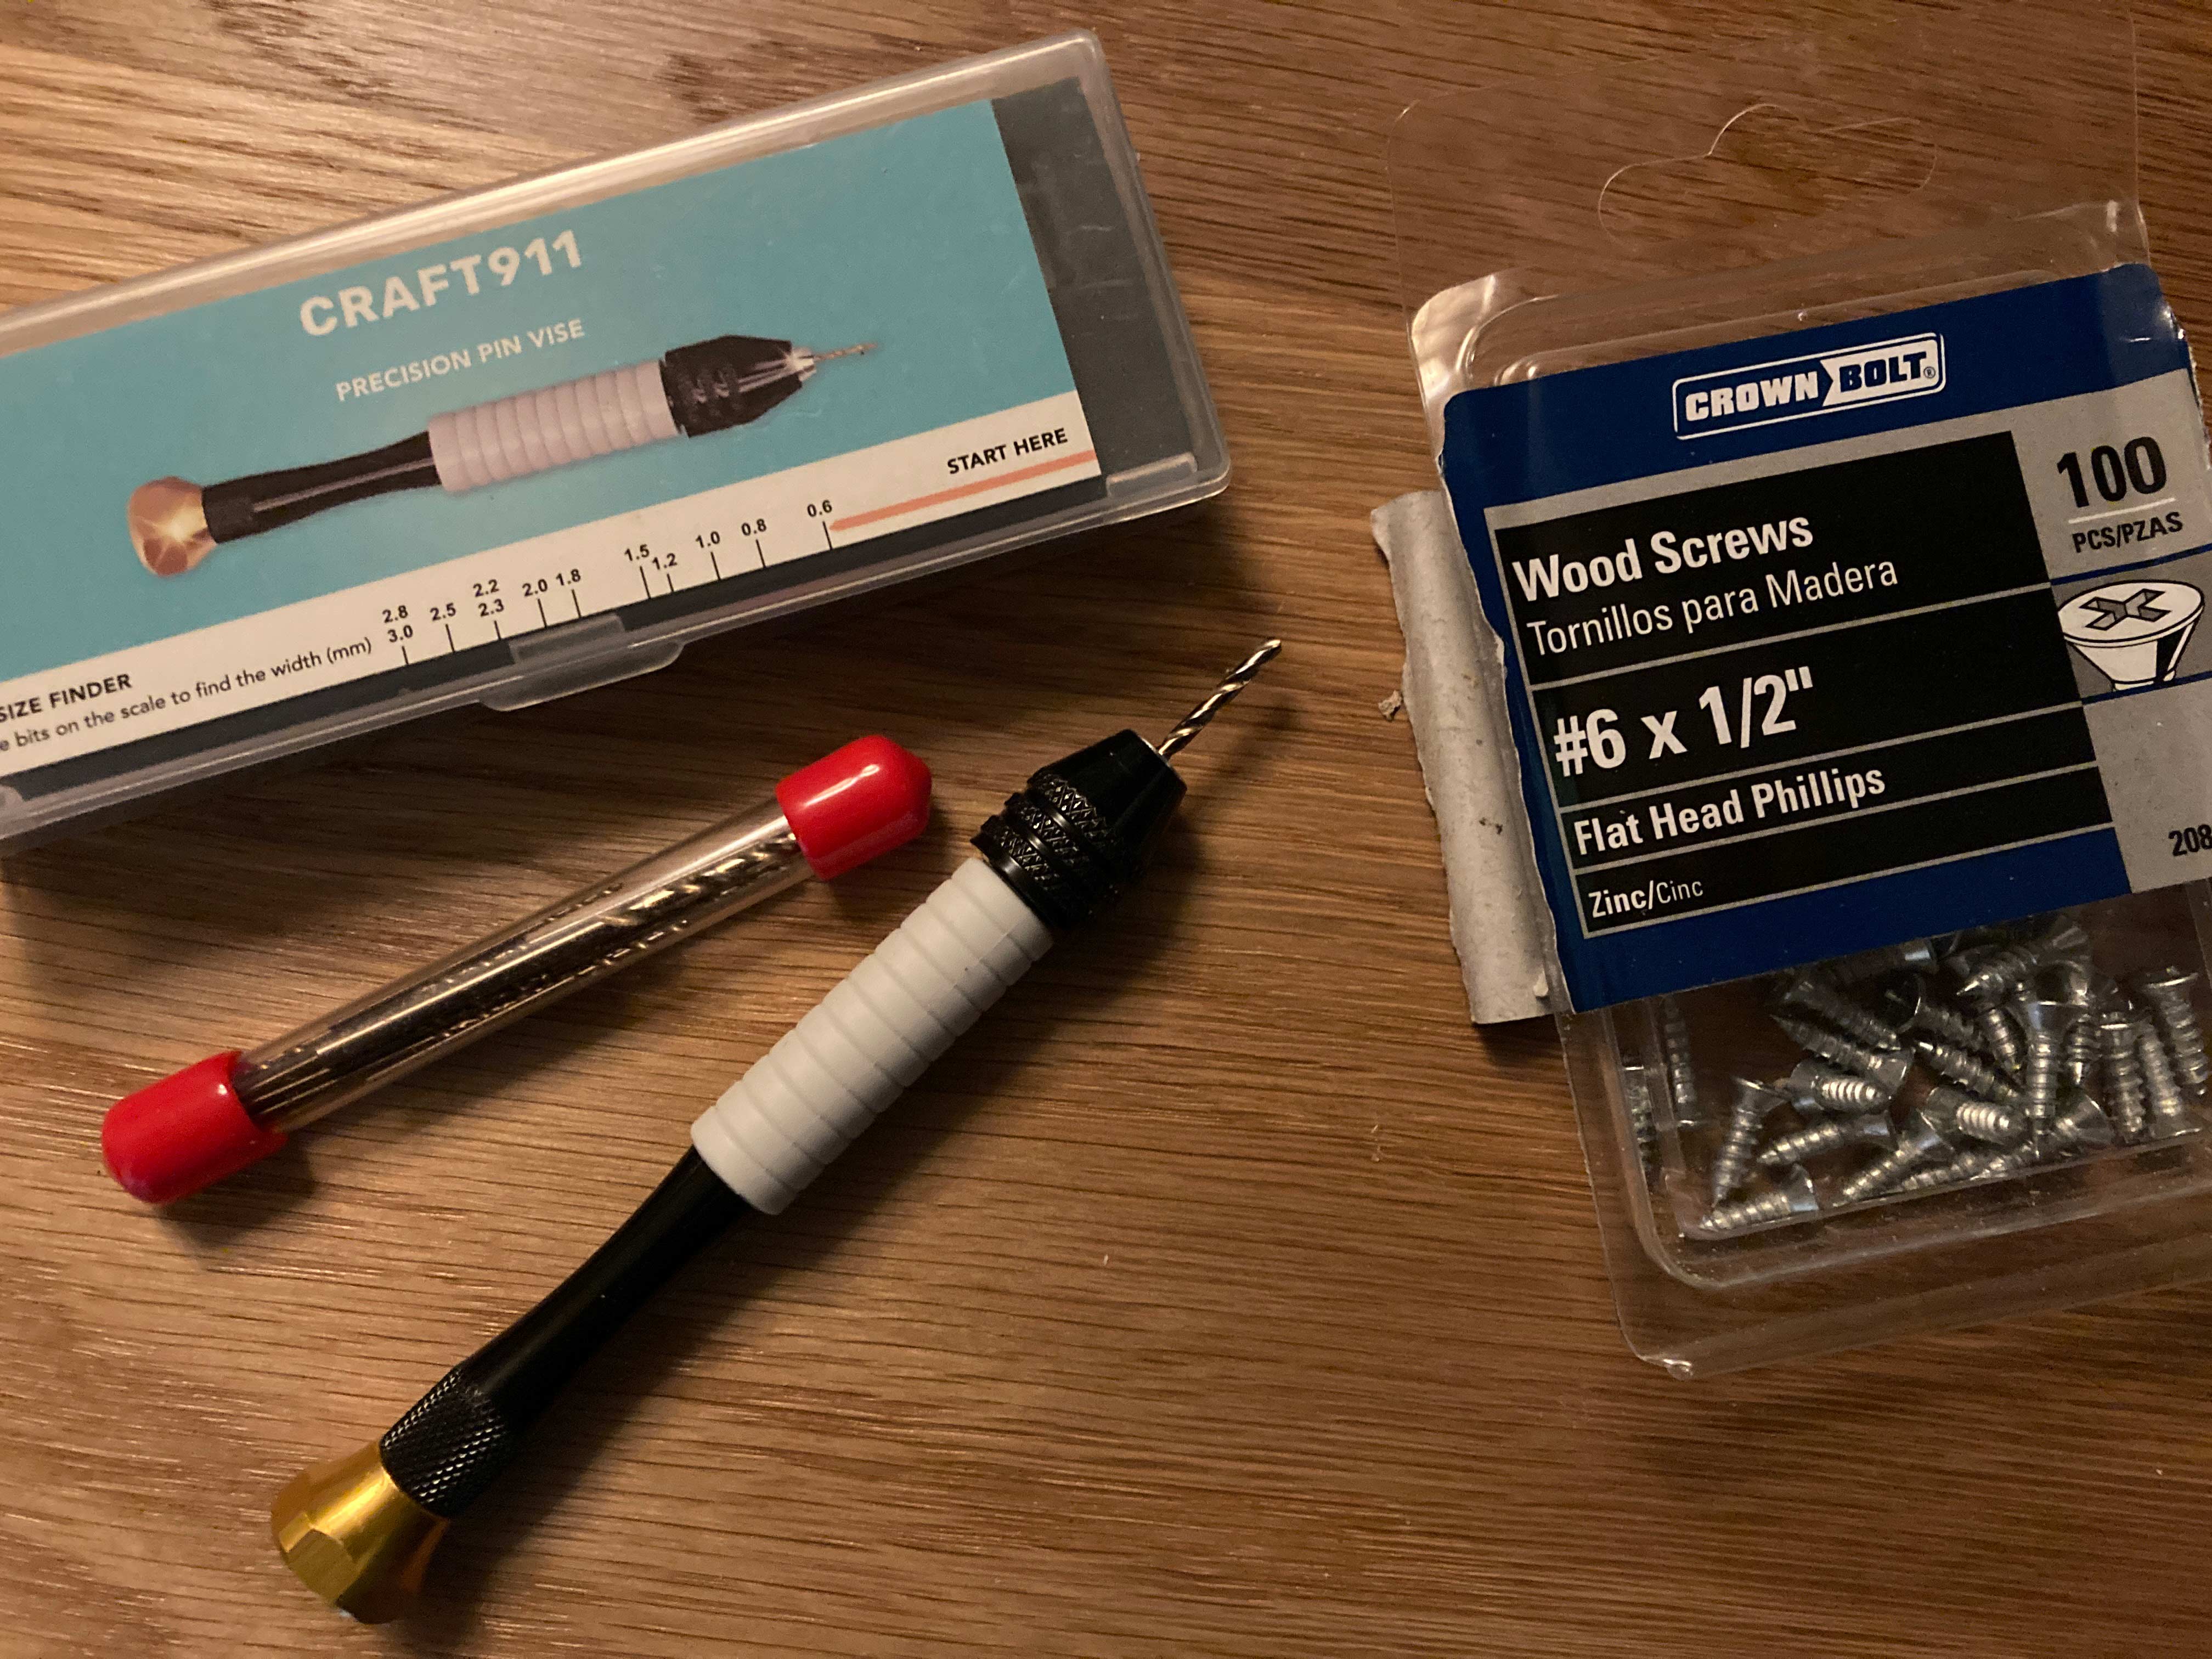
6-Random tips. Number one, always pre-drill any extra holes you make for mounting the power supply, power switch, speaker, PCB etc. I have a small pin vise that is perfect for this. I also use small wood screws when I mount these things. Be very gentle with the cabinet parts the melamine can chip very easily but it's a good solid cabinet once built. It's going to be easier to do some things, like mounting the speaker or installing the screen protector, before or during assembly. When assembling the top marquee parts if you want to hide the cams on the inside you'll need an offset screwdriver to turn the cams next to the speaker. You can see the cams in the lighted picture above on the bottom of the top piece but not on the speaker grill piece since they are inside that space.
7-Other links and rabbit holes. An archived version of The Real Bob Roberts site. Invaluable ancient technical information that I used when restoring my original Joust machine. Most of it is useless for this build but it taught me a lot in general about arcade machines. Also DIY Retro Arcade. And Museum of the Game.
Definitive parts list:
Cabinet
Monitor
Controls, power, and wiring
Acrylic -proper measurements TK after I buy and test (marquee 17.75" x 3.875") (screen 12.5" x 18")
Buttons*
Power switch (cord only*)
Speakers*
T-molding*
*all from t-molding.com
Last updated 3/16/25 9:22am
Copyright ©2025 Scott White email: scott@scottwhitenyc.com